Crochet Phone Bag: A Crossbody Pouch Sized to Any Phone
A seamless crossbody phone pouch worked in the round from a short chain, with a simple method for sizing it to the phone you own.
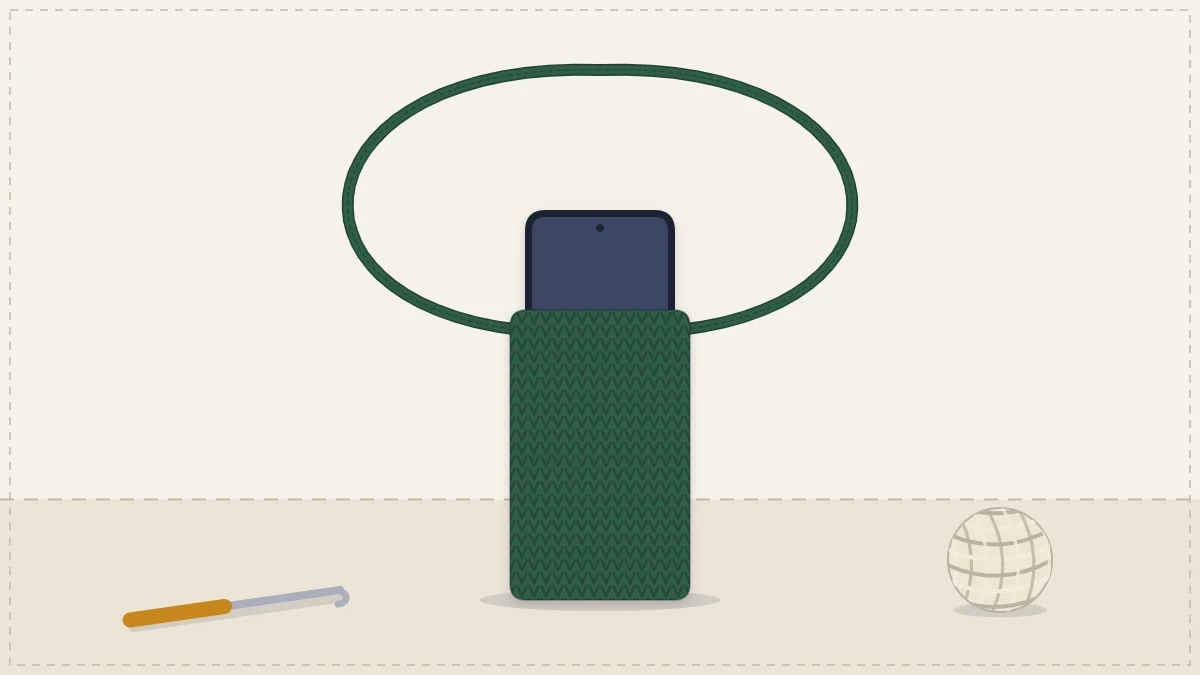
Tutorial at a glance
Materials
- Worsted (#4) cotton yarn, roughly 80 yd (73 m)
- US F-5 (3.75 mm) crochet hook
- 2 locking stitch markers
- Yarn needle
- Optional button, about 5/8 in (15 mm), with sewing needle and thread
- Scissors and tape measure
Phones come in so many sizes that a phone bag pattern with one fixed stitch count is only right for some of them. This one starts from a tape measure instead: measure the phone, add a little ease, and a small table turns that number into a starting chain.
The pouch is worked in the round from a short chain, so the bottom is closed from the first round and there are no side seams to sew. A worked example is given throughout for a phone about 3 in (7.5 cm) wide and 6 1/4 in (16 cm) tall.
Materials and gauge
- Worsted (#4) cotton, roughly 80 yd (73 m) for the example size including the strap
- US F-5 (3.75 mm) hook
- 2 locking stitch markers, yarn needle, scissors, tape measure
- Optional: one button about 5/8 in (15 mm), sewing needle and thread
Gauge: 18 single crochet (sc) and 20 rounds = 4 in (10 cm). The hook is smaller than a worsted yarn label recommends, on purpose. A phone is heavy for its size, and a dense fabric holds it without stretching into a long sock. If your swatch is looser, drop another hook size before you start rather than trying to tighten your hands.
Size the pouch to your phone
Measure the phone in the case you actually use.
- Width plus thickness. Add the width of the phone to its thickness. The fabric has to wrap around the edges, so thickness matters as much as width.
- Add ease. Add 1/4 to 3/8 in (6 to 10 mm). The result is the flat width of the pouch. Less ease gives a tight sleeve that grips the phone; more makes it easier to pull out with one hand.
- Height. Add about 1/2 in (1.3 cm) to the height of the phone so the top edge covers it. Subtract that allowance instead if you want the phone to peek out.
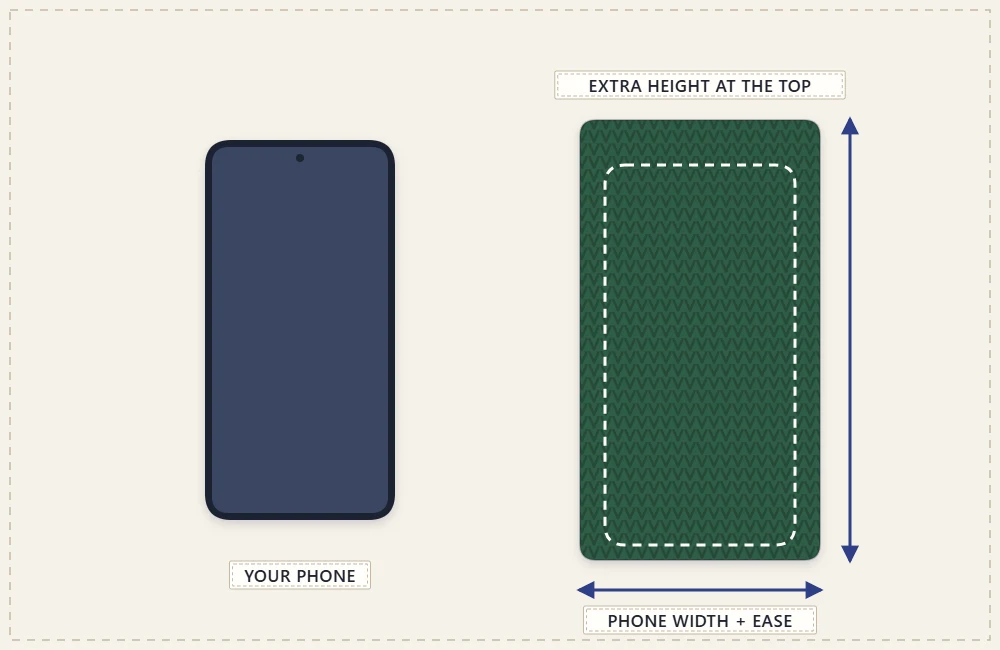
Example: a phone 3 in wide and 3/8 in thick gives 3 3/8 in, and with 3/8 in of ease the flat width is 3 3/4 in (9.5 cm). The height is 6 1/4 in plus 1/2 in, so 6 3/4 in (17 cm).
Flat width to starting chain
| Flat width of pouch | Starting chain | Stitches in each round |
|---|---|---|
| 3 1/2 in (9 cm) | 17 | 32 sc |
| 3 3/4 in (9.5 cm) | 18 | 34 sc |
| 4 in (10 cm) | 19 | 36 sc |
| 4 1/4 in (11 cm) | 20 | 38 sc |
The rule behind the table: at this gauge there are 4 1/2 stitches to the inch, each side of the pouch needs the flat width in stitches, the round is twice that, and the chain is one side plus 1.
Crochet the pouch
The example uses a chain (ch) of 18. Substitute your own numbers from the table.
Foundation: ch 18.
Round 1: sc in the 2nd ch from the hook and in each ch to the end (17 sc). Do not turn. Rotate the work so the unused loops on the other side of the chain are on top, and sc in each of those 17 chains. (34 sc)
There are no increases at the ends. Working down one side of the chain and back along the other closes the bottom like the fold of an envelope and sets up a tube straight away.
Round 2 onward: sc in each sc around, working in a continuous spiral without joining. (34 sc)
Place a marker in the first stitch of Round 2 and move it up each round. Continue until the pouch measures 6 3/4 in (17 cm) from the bottom, or your own target height. Slide the phone in after a few inches to test the fit: it should go in with light friction. Starting again at this stage costs ten minutes; a pouch that is too loose never improves.
Last round: slip stitch (sl st) loosely in each sc around, then fasten off. This firms up the opening so it does not flare.
Tip
Spiral rounds of single crochet lean a little to one side as they rise. That is normal and does not affect the fit. Lay the finished pouch flat and use the creases, not the round marker, to decide where the sides are.
Optional button tab
A tab over the top stops the phone from sliding out when you bend down. Lay the pouch flat. In the example each face has 17 stitches across the top.
With the back of the pouch facing you, skip the first 6 stitches from the right-hand crease and join the yarn in the 7th.
Row 1: ch 1 (does not count as a stitch), sc in the same stitch and in the next 4 stitches. (5 sc) Six stitches remain unworked on each side of the tab.
Row 2: ch 1, turn, sc in each sc across. (5 sc)
Repeat Row 2 until the tab measures 2 in (5 cm).
Loop row: ch 1, turn, sc in the first 2 sc, ch 5, skip 1 sc, sc in the last 2 sc. (4 sc and one ch-5 loop) Fasten off.
Fold the tab over to the front with the phone inside, mark where the loop lands, and sew the button there through the front layer only. For other sizes, subtract 5 from the stitches on one face and divide by 2 to find how many to skip; if that leaves a half stitch, make the tab 4 sc wide and work the loop row as sc 2, ch 5, sc 2.
The strap
A phone bag needs a thin strap that does not dig in. The simplest version is a slip-stitch cord.
Leaving an 8 in (20 cm) tail, chain until the chain measures about 46 in (117 cm) without stretching. Turn and sl st in the back bump of each chain all the way back. Fasten off with another 8 in (20 cm) tail.
Thread each tail onto a yarn needle and sew the cord ends to the inside of the top edge at the two side creases, taking several stitches through both the cord and the pouch before weaving the tail down into the fabric.
The right length depends on your height and where you like the phone to sit; the strap length guide explains how to measure on your own body. If you want something wider or less stretchy than a cord, the article on crochet bag straps covers flat and reinforced versions.
If you want more room
This pouch is sized for a phone and little else. A card or a folded bill slips in beside it, but keys will scratch a screen. For a phone plus a wallet, the flat crochet crossbody bag has a flap and far more space, and the structured crochet mini bag stands up on its own base.
Frequently asked questions
Should the phone be measured with or without its case?
Measure it in the case you use every day. A case can add a noticeable amount to both the width and the thickness, and the pouch has to wrap around both.
Will the pouch stretch over time?
Tight single crochet in cotton stretches very little in width, but the strap attachment points and the strap itself usually lengthen with use. Make the strap slightly shorter than your ideal length to allow for it.
Can a thinner yarn be used?
Yes, but the table of chains no longer applies. Work a swatch, count the stitches in 1 in (2.5 cm), and multiply by the flat width you need to get the stitches for one side; the chain is that number plus 1.