Your First Crochet Bag: An Easy Single Crochet Rectangle
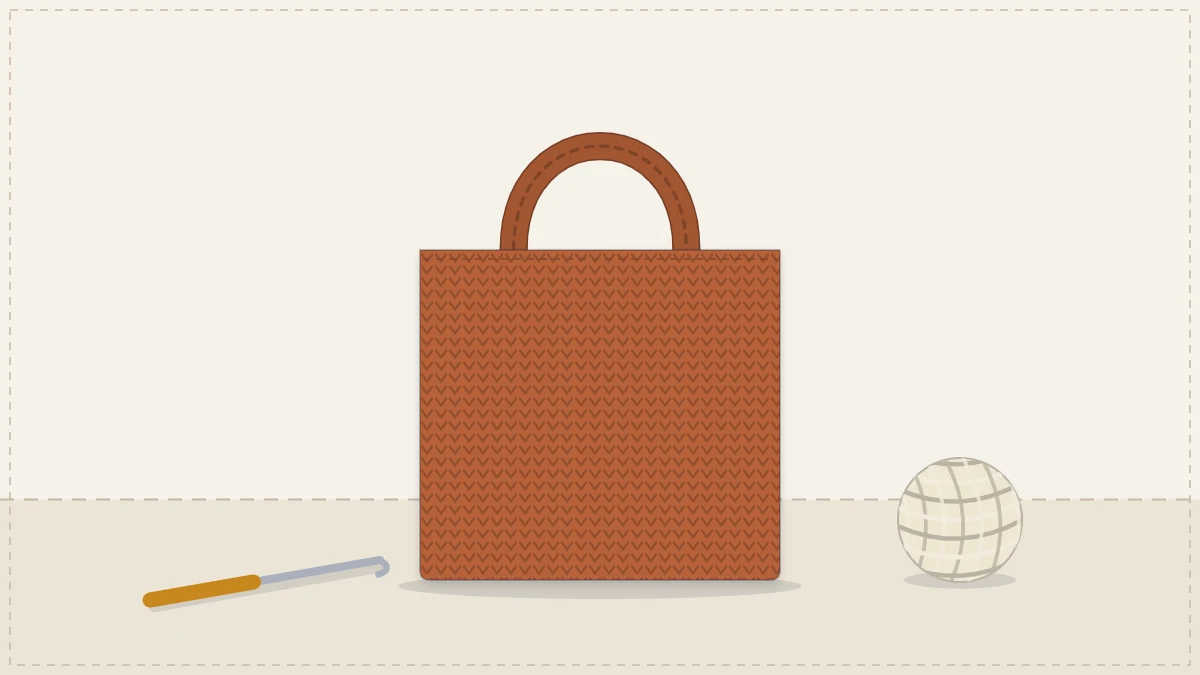
One single crochet rectangle, folded in half and seamed at the sides, with two simple straps. A first bag that needs no shaping and only one stitch.
Tutorial at a glance
Materials
- Worsted (#4) cotton yarn, roughly 200 yd (183 m)
- US H-8 (5 mm) crochet hook
- Yarn needle
- 4 locking stitch markers or safety pins
- Scissors and tape measure
This bag is one rectangle. You crochet it back and forth in a single stitch, fold it in half, sew the two sides and add two straps. There is no shaping, no working in the round and no stitch harder than single crochet (sc).
It is also a useful bag: about 10 in (25 cm) wide and 11 in (28 cm) tall, big enough for a book, a wallet and a water bottle. If you want to see how this method compares with the others first, the overview of how crochet bags are constructed lays out all three.
Materials and gauge
- Worsted (#4) cotton yarn, roughly 200 yd (183 m)
- US H-8 (5 mm) crochet hook
- Yarn needle, scissors, tape measure
- 4 locking stitch markers or safety pins
Gauge: 14 sc and 16 rows = 4 in (10 cm). This is tighter than most worsted yarn labels suggest, on purpose: bag fabric should be firm, with no visible gaps. If your swatch comes out wider than 4 in (10 cm), switch to a US 7 (4.5 mm) hook.
Stitches used
- Chain (ch): yarn over, pull through the loop on the hook.
- Single crochet (sc): insert the hook in the stitch, yarn over and pull up a loop (2 loops on the hook), yarn over and pull through both loops.
The ch 1 at the start of each row is a turning chain. It only lifts the yarn to the height of the new row and does not count as a stitch. Never work into it.
Crochet the rectangle
Foundation: Ch 36.
Row 1: Sc in the 2nd ch from the hook and in each ch across. Turn. (35 sc)
Row 2: Ch 1 (does not count as a stitch), sc in the first sc and in each sc across. Turn. (35 sc)
Repeat Row 2 until the piece measures 22 in (56 cm) from the foundation chain. At this gauge that is about 88 rows, but go by the tape measure rather than the row count. Fasten off, leaving a 6 in (15 cm) tail.
Keeping the edges straight
Nearly every wobbly first rectangle has the same cause: the first or last stitch of a row was skipped, or an extra one was added. Two habits prevent it.
- After turning, work the first sc into the very first stitch, the one at the base of the turning chain. It looks tight and is easy to pass over.
- The last sc of the row goes into the last sc of the row below, not into the turning chain beside it.
Count to 35 at the end of each row until your edges look reliably straight. If the count is off by one, pull out that row and redo it; a single row takes only a couple of minutes.
Fold and seam the sides
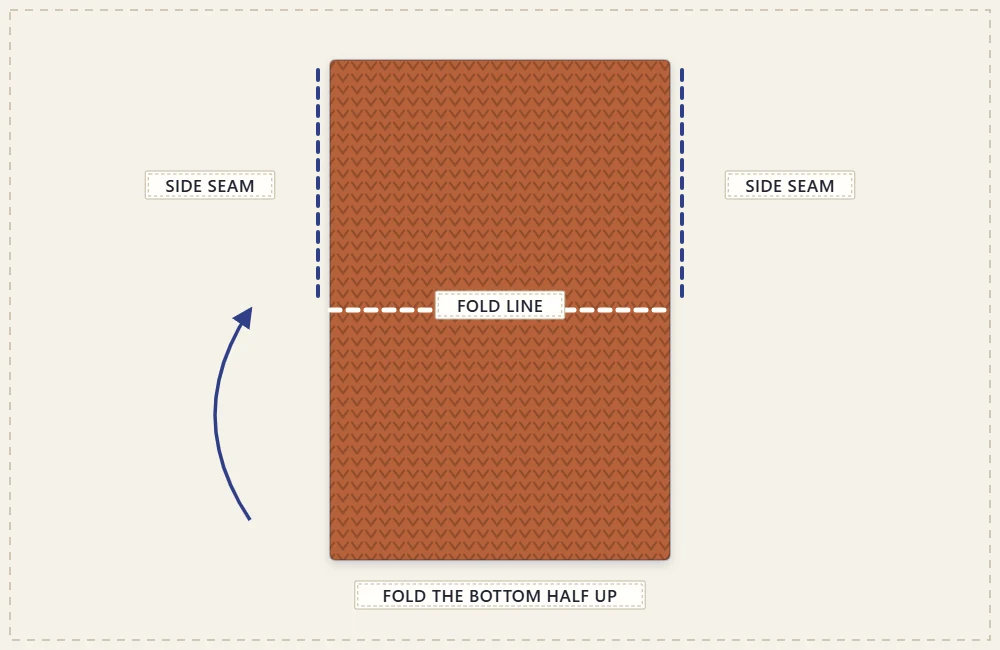
Lay the rectangle flat and fold it in half so the foundation chain meets the last row. Both short edges are now together at the top, forming the opening, and the fold is the bottom of the bag. The folded piece should measure about 10 in wide and 11 in tall (25 x 28 cm).
Pin or clip the two side edges so the rows line up. Thread about 20 in (50 cm) of yarn onto the needle and sew one side with a whip stitch:
- Start at the bottom fold. Secure the yarn by stitching through the same spot twice.
- Pass the needle through both layers, from front to back, one row end at a time.
- Bring the yarn over the edge and repeat in the next row end. Pull each stitch snug but not so tight that the seam puckers.
- At the top edge, make two stitches in the same place for strength, then weave the tail down inside the seam.
Repeat on the other side. Other seaming methods, and how to weave in cotton ends so they stay put, are covered in the guide to assembling and finishing a crochet bag.
Make the two straps
Each strap is a narrow strip worked the long way, which stretches less than a strip built from short rows.
Foundation: Ch 51.
Row 1: Sc in the 2nd ch from the hook and in each ch across. Turn. (50 sc)
Rows 2 to 4: Ch 1 (does not count as a stitch), sc in each sc across. Turn. (50 sc)
Fasten off, leaving a 12 in (30 cm) tail for sewing. The strap measures about 14 in (36 cm) long and 1 in (2.5 cm) wide. Make a second one the same.
Attach the straps
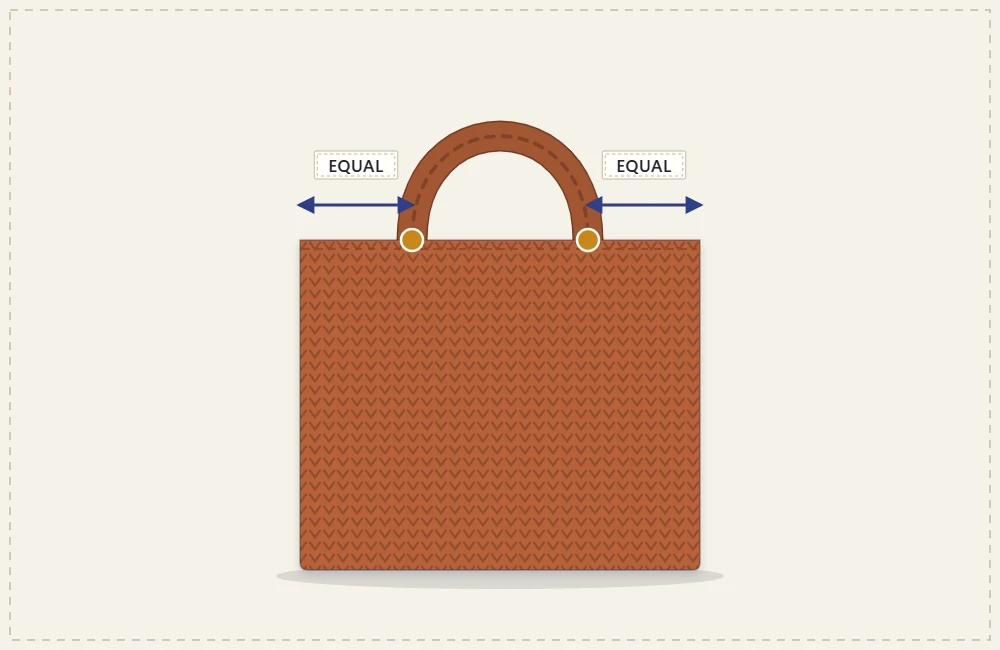
- Lay the bag flat. On the front, measure 2.5 in (6.5 cm) in from each side seam along the top edge and place a marker at both points. Do the same on the back.
- Take one strap and check that it is not twisted. Place one end against the inside of the front, with its outer edge at a marker and its end overlapping the top edge by 1 in (2.5 cm).
- Sew around all four sides of the overlapping square with small whip stitches, catching the bag fabric with each stitch. Go around twice.
- Sew the other end of the same strap at the second marker on the front.
- Attach the second strap to the back in the same way.
With 1 in (2.5 cm) tucked inside at each end, about 12 in (30 cm) of strap is left free, which gives a handle you can carry in the hand or hook over a forearm. For a shoulder strap, start with a longer chain; the article on crochet bag straps explains how to make long straps that do not stretch out.
Watch out
Strap ends take all the strain when the bag is loaded. Sewing across only the top edge of the strap is not enough. Stitch the full square, and weave each tail through several stitches in two directions before trimming it.
Finishing and what comes next
Weave in every remaining end through at least 2 in (5 cm) of stitches, changing direction once.
To change the size, change the foundation chain: every 3.5 chains add or remove about 1 in (2.5 cm) of width. Work the rectangle to twice the height you want.
Once this bag is done, you have the tension and the stitch for a seamless one. The easy crochet bag in the round adds an oval base and built-in handles, with no sewing at all.
Frequently asked questions
Why are the edges of my rectangle getting narrower?
A stitch is being skipped at the start or end of the row, usually the tight first stitch right after turning. Count to 35 at the end of each row and mark the first stitch so you can find it on the way back.
Can I make this bag bigger?
Yes. Add about 3.5 chains for every extra inch (2.5 cm) of width and work the rectangle to twice the height you want. Buy extra yarn, since a larger bag uses noticeably more.
Does the turning chain count as a stitch?
No. In this pattern the ch 1 only raises the yarn to the next row, so you work the first single crochet into the first stitch and never into the chain.