How to Assemble and Finish a Crochet Bag
The finishing sequence for a crochet bag: blocking the panels, choosing a seam, sewing on straps, weaving in cotton ends so they stay, edging and final shaping.
The crocheting is finished, and what sits on the table is a set of panels, a strap or two and a fringe of yarn tails. The next hour decides whether they become a bag that looks handmade in the good sense or one that looks unfinished.
Finishing has an order that saves rework: block, seam, attach straps, weave in ends, edge the opening, then shape.
Block the panels first
Blocking means dampening the pieces, pinning them to their intended measurements and letting them dry. For a bag made of separate panels it matters more than for almost any other project, because two edges that are supposed to be joined have to be the same length.
- Cotton and cotton blends: soak the panel in cool water, press the water out in a towel without wringing, pin it square on a blocking mat or folded towel and leave it until completely dry.
- Acrylic: pin the dry panel to size and hover a steam iron a little above it. Never press the iron onto acrylic; it flattens the stitches permanently.
- Bags worked in one piece in the round: skip this step and shape the finished bag at the end.
Measure matching panels against each other while they are pinned. Corners should be square and opposite sides equal.
Choosing a seam
Four seams cover nearly every crochet bag. They differ in how visible they are, how bulky, and how much they give.
| Seam | Worked with | Look | Best for |
|---|---|---|---|
| Whip stitch | Yarn needle | Small slanted stitches, fairly flat | Motifs and squares, quick side seams |
| Mattress stitch | Yarn needle | Nearly invisible from the right side, flat | Side seams on panels worked in rows |
| Slip-stitch seam | Hook | A low ridge on the side facing the hook | Firm, low-stretch seams on the inside |
| Single-crochet seam | Hook | A raised, rope-like ridge | Strong seams shown on the outside as a feature |
Whip stitch
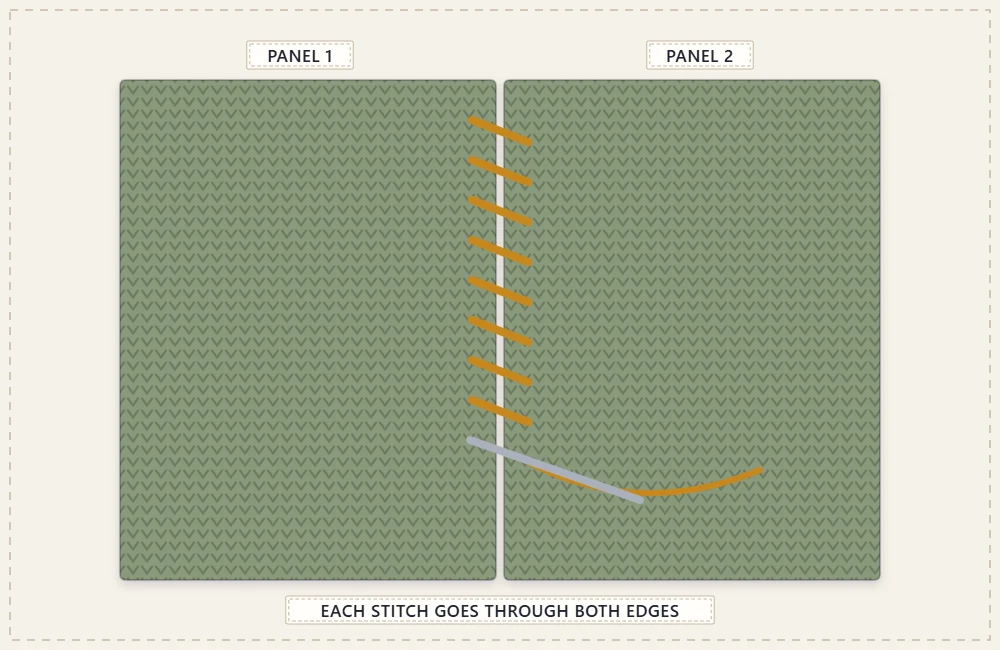
Hold the panels with right sides together, or wrong sides together for a visible seam. Bring the needle through both edges from back to front, carry the yarn over the top and repeat in the next pair of stitches. Going under both loops of each stitch gives the strongest seam; going under only the two inner loops leaves a neat outline around each piece, which suits the granny square bag.
Mattress stitch
Lay the panels side by side with right sides facing up. Pick up one strand at the edge of one panel, then the matching strand on the other, working back and forth like a ladder. Every inch or so, pull the yarn gently and the edges draw together with the seam yarn hidden inside. It is the flattest seam and the best choice where the join should disappear.
Slip-stitch seam
Hold the panels with right sides together, insert the hook through both edges, yarn over and pull through everything on the hook. Repeat in each pair of stitches. The seam is firm and has almost no stretch, which is useful on a bag but also makes it easy to pull tight; if the seam puckers, go up a hook size.
Single-crochet seam
Work as for the slip-stitch seam, but complete a single crochet (sc) through both layers each time. Worked with wrong sides together in a contrast color, the ridge becomes an outline on the outside of the bag. It is the bulkiest seam, so keep it off places that will be folded.
Tip
Before any seam, fasten the panels together with locking stitch markers: first at both ends, then the middle, then every 2 in (5 cm). Seaming between markers stops one edge creeping ahead of the other.
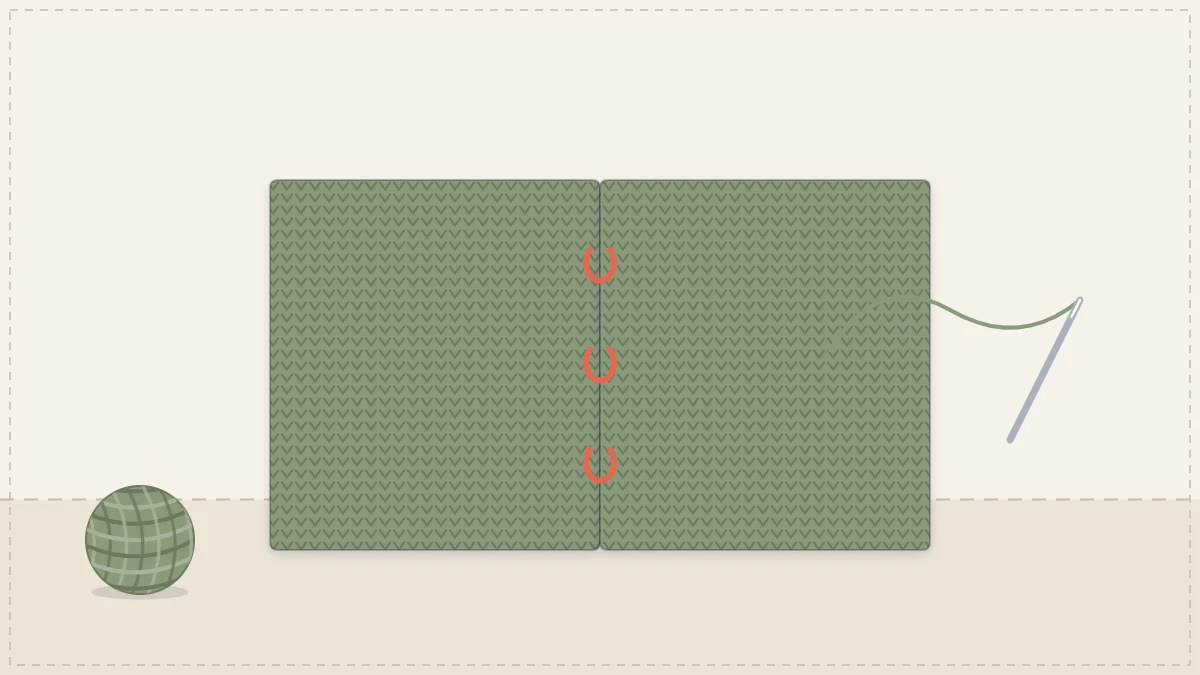
On edges made of stitch tops, join stitch to stitch. On row edges, as on the folded rectangle of the first crochet bag, join row to row.
Sewing on straps securely
Pin both strap ends in place and lift the bag by the strap before sewing anything, to check that the strap is not twisted, that both ends sit the same distance from the side seams, and that the length is right.
- Overlap each strap end onto the inside of the bag by 1 to 1.5 in (2.5 to 4 cm).
- With a yarn needle, sew around all four sides of the overlap, taking each stitch through the full thickness of both layers.
- Sew an X from corner to corner inside that rectangle.
- Run the tail back through the stitching before cutting it.
A strap stitched along a single line will tear away from that line. The rectangle spreads the pull over several rows. Making the strap itself resist stretching is covered in the guide to crochet bag straps.
Weaving in ends that stay put
Bags are pulled, stuffed and washed, and cotton is smooth, so a tail run straight through a few stitches soon works its way out.
- Leave tails of at least 6 in (15 cm) whenever yarn is cut or joined.
- Weave each tail in three directions: about 2 in (5 cm) one way through the backs of the stitches, back the other way along a different path, then a short third pass. The changes of direction are what lock it.
- Split the plies of the stitches with the needle on at least one pass, so the tail is gripped by the yarn itself.
- Trim with the fabric slightly stretched, leaving a tiny stub on the inside so the end can settle without popping through to the front.
- Do not rely on a knot alone. Knots in cotton work loose and leave a hard lump.
In mesh there is no solid fabric to hide in, so run tails down through the posts of the stitches or into the solid base and top band.
Edging the opening
One finishing round makes the top edge even and hides the uneven ends of rows. Join the yarn at a side seam and work sc around: one sc in the top of each stitch, and along row edges about one sc per single crochet row. If the edge flares, there are too many stitches; if it pulls in, too few. Adjust and redo it, since this is the most visible round of the bag.
For an edge that will not stretch, follow with a round of slip stitches.
Final steam and shape
Stuff the finished bag with rolled towels until it has the shape it should keep. Steam it lightly from a short distance, or mist it with water, then smooth the seams with your fingers, square the base and straighten the top edge. Leave it stuffed until it is fully dry.
If the bag is going to have a fabric lining, it goes in now, measured from the finished and shaped bag. The guide on lining a crochet bag picks up from here.
Frequently asked questions
What is the strongest seam for a crochet bag?
A single-crochet seam worked through both loops of both edges is the strongest of the common options, with a slip-stitch seam close behind. Both are bulkier than a sewn seam.
Should a crochet bag be blocked before or after seaming?
Block separate panels before seaming so matching edges are the same length. A bag worked in one piece in the round is shaped once at the end instead.
How do you keep cotton yarn ends from coming loose?
Leave long tails and weave each one in three directions, splitting the plies of the stitches on at least one pass. A single straight pass or a knot alone will not hold in smooth cotton.