Crochet Bag Closures: How to Choose and Attach the Right One
Seven ways to close a crochet bag, from a button and chain loop to a magnetic snap or drawstring, with the bags each one suits and how to attach it so it holds.
A closure does two jobs: it keeps things inside the bag, and it decides how quickly a hand can get in. Those jobs pull against each other, so the right choice depends on what the bag carries and how often it is opened, not on which fastening looks neatest.
Crochet adds a complication of its own: the fabric stretches and is full of small gaps, so anything sewn or clamped to it needs a firm anchor.
Closures at a glance
| Closure | How secure | What it takes | Suits |
|---|---|---|---|
| Button and chain loop | Medium | Crochet plus one sewn button | Flap bags, pouches, totes with one center fastening |
| Toggle and loop | Medium | Crochet plus one sewn toggle | Bulky yarn, chunky bags |
| Magnetic snap | Medium; holds shut but pulls open easily | A little hand sewing and a patch | Totes and shoulder bags, ideally lined |
| Zipper | High | Careful hand sewing | Pouches, coin purses, firm fabric |
| Drawstring | Medium to high; slow to open | Crochet only | Bucket bags, pouches, gift bags |
| Flap | Low on its own | Crochet only | Crossbody bags, envelope purses |
| Tab with button or twist lock | Medium | Crochet, plus a patch for a lock | Open-top totes, phone bags |
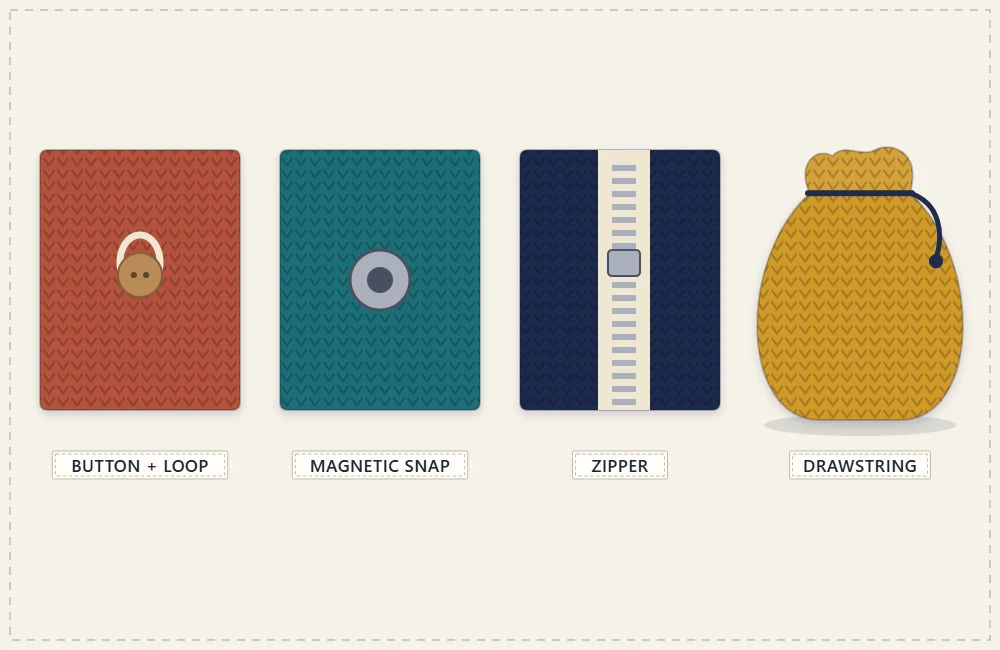
Button and chain loop
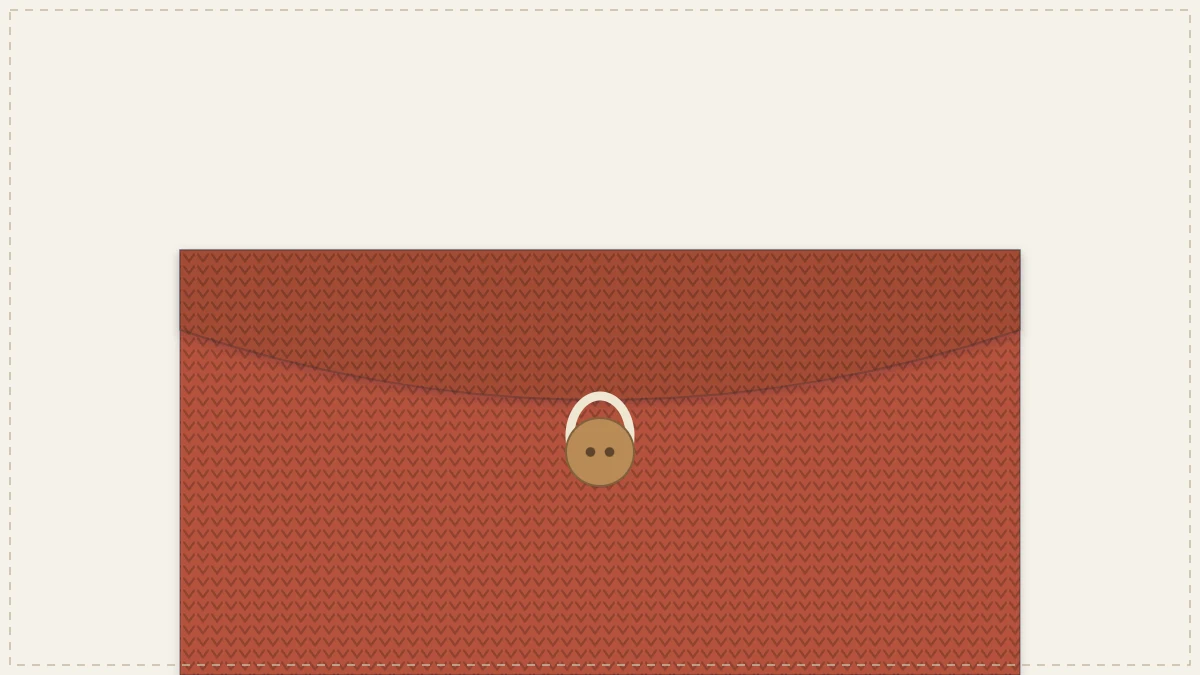
Sew the button on first, then make the loop to fit it, never the other way around.
- Join the yarn with a slip stitch (sl st) at the center of the back top edge, or at the tip of the flap.
- Chain (ch) until the chain, pulled lightly, just reaches around the button. The button should need a small push to pass through.
- Sl st into the stitch next to the one where the chain began, so the loop has a base two stitches wide.
- For a loop that keeps its size, turn and work single crochet (sc) around the chain, as many as fit without crowding, then fasten off and weave both ends into the edge.
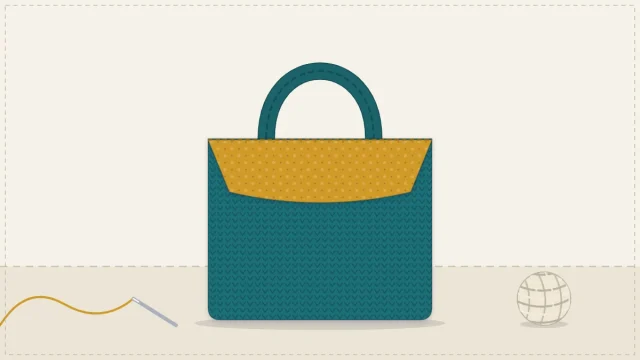
A loop always loosens with use, so err on the snug side. Sew the button through a backing on the inside of the bag, either a small flat button or a square of felt, so the thread pulls on the backing and not on one stitch. Wrap the thread a few times under the button to form a short shank. The flap of the flat crossbody bag closes exactly this way.
Toggle instead of a button
A toggle uses the same loop, made as long as the toggle itself: it goes through end first, then turns to lie across the loop. Sew it on with a longer thread shank so it can swivel.
Magnetic snap
Magnetic snaps come in two kinds: sew-on snaps with holes around the rim, and pronged snaps whose two metal legs pass through the fabric and fold over a washer. Either kind pulls on a coin-sized spot every time the bag is opened, so it needs a reinforcing patch.
- Cut two patches of felt or firm woven fabric, about 1.5 in (4 cm) square.
- For a pronged snap, mark and cut two short slits in the patch, push the prongs through, add the washer and fold the prongs flat. For a sew-on snap, stitch it to the center of the patch through every hole.
- Pin each patch to the inside of the bag, centered on the width and 0.75 to 1 in (2 to 2.5 cm) below the top edge. Fold the bag flat to check that both halves meet.
- Sew around all four sides of the patch with sewing thread, catching the backs of the crochet stitches without coming through to the right side.
If the bag is going to be lined, mount the snap on the lining before the lining goes in; the fabric holds it far better than yarn does. The steps are in the guide on lining a crochet bag.
Watch out
Do not push a pronged snap straight through crochet with no patch. The prongs slide between stitches, and the snap works loose within a few uses.
Zipper
A zipper is the only closure here that shuts the opening completely. Choose one the same length as the opening or slightly shorter, never stretch the crochet to fit a longer one, and backstitch the tape by hand with sewing thread, keeping the teeth just clear of the edge. The full method is in the zipper pouch tutorial. Zippers behave best in firm, flat fabric; in a slouchy tote the top edge ripples.
Drawstring through eyelets
A drawstring needs one round of holes and a cord. Place the eyelet round 1 to 1.5 in (2.5 to 4 cm) below the top edge so a small ruffle stands above it when the bag is closed.
- Small eyelets, for thin cord or ribbon: *sc in next 2 stitches, ch 1, skip next stitch; repeat from * around. This needs a multiple of 3 stitches.
- Larger eyelets, for thick cord: *sc in next 2 stitches, ch 2, skip next 2 stitches; repeat from * around. This needs a multiple of 4 stitches.
On the following round, work 1 sc in every sc and every chain, and the stitch count is back where it started. Aim for an even number of eyelets, so that a cord woven in and out ends with both tails on the outside; a total that divides by 6 for the small version, or by 8 for the large one, gives that automatically.
One cord leaves a small gap at the top. Two cords pulled from opposite sides close it properly, which is how the drawstring pouch is built. Stiff fabric resists gathering, so drawstrings suit softer bags.
Flap and tab closures
A flap is the back panel carried on over the opening. On its own it only covers the contents, so make it reach at least a third of the way down the front and add a button, toggle or snap.
A tab is a narrow strip that crosses an open top and fastens on the front. To crochet one, join the yarn at the center back edge and work over 5 stitches:
- Ch 1 (does not count as a stitch), sc in each of 5 stitches, turn. (5 sc)
- Repeat that row until the tab reaches across the opening and about 1.5 in (4 cm) down the front.
- Buttonhole row: ch 1, sc in 2 stitches, ch 1, skip 1 stitch, sc in 2 stitches, turn.
- Ch 1, sc in each sc and in the chain space, turn. (5 sc) Work 2 more rows of 5 sc and fasten off.
A metal twist lock can replace the button. Treat both of its parts like a magnetic snap and back each one with a patch.
Placing any closure
- Fill the bag before marking positions. A loaded bag hangs differently from an empty one.
- Find the center by counting stitches, not by eye.
- Attach to the firmest part of the bag, usually a top band of tight single crochet.
- Sew with doubled sewing thread in a matching color when the yarn is too thick for the button holes.
Frequently asked questions
What is the easiest closure to add to a crochet bag?
A button and chain loop. It needs no hardware beyond the button, it can be added after the bag is finished, and the loop is made to fit whatever button is on hand.
Can a magnetic snap go on an unlined crochet bag?
Yes, as long as each half is fixed to a felt or fabric patch first and the patch is sewn to the inside of the bag. Without the patch the snap pulls the stitches out of shape.
How many eyelets does a drawstring bag need?
An even number, so both ends of the cord finish on the outside. Spacing them two stitches apart works for most bags; closer eyelets gather more smoothly but take longer to thread.
Which closure is safest for small items like coins and keys?
A zipper, because it is the only one that shuts the opening along its full length. A drawstring with two cords is the best option that involves no sewing.