Crochet Zipper Pouch: How to Sew a Zipper Into Crochet
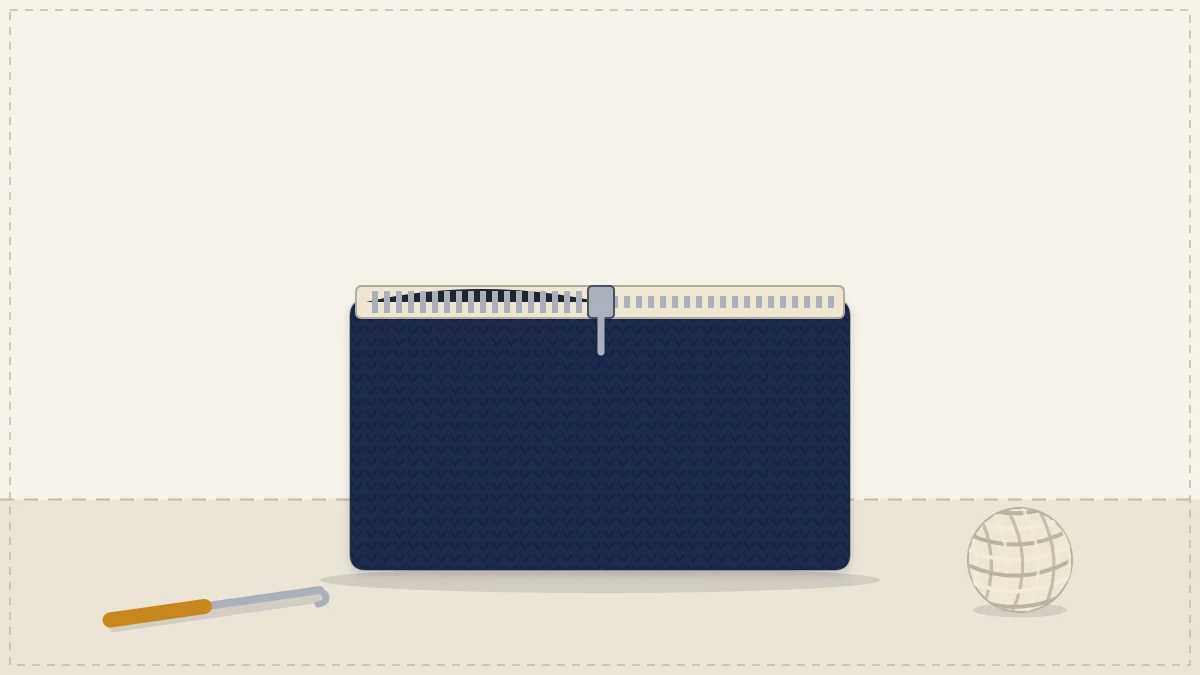
A flat single crochet pouch with a hand-sewn zipper, using a flat-first method that turns the zipper into two short straight lines of backstitch.
Tutorial at a glance
Materials
- Worsted (#4) cotton yarn, roughly 70 yd (64 m)
- US G-6 (4 mm) crochet hook
- One closed-end zipper, 7 in (18 cm)
- Sewing thread to match the yarn
- Sharp hand-sewing needle
- Pins or small clips
- Yarn needle, scissors and tape measure
Sewing a zipper into crochet has a reputation for being fiddly, and it mostly comes from doing it in the wrong order. Put the zipper into a finished pouch and you are stitching inside a narrow pocket. Sew it to the panel while the panel is still flat, and it becomes two short straight lines of hand sewing.
This pouch is a single rectangle of single crochet, 7 in wide and 4 1/2 in tall (18 x 11.5 cm) once folded, and the pattern is written around that flat-first method.
Materials and gauge
- Worsted (#4) cotton, roughly 70 yd (64 m)
- US G-6 (4 mm) hook
- One closed-end zipper, 7 in (18 cm), nylon coil or molded plastic
- Sewing thread to match the yarn, a sharp hand-sewing needle, pins or small clips
- Yarn needle, scissors, tape measure
Gauge: 16 single crochet (sc) and 18 rows = 4 in (10 cm), which is firmer than most worsted cotton labels suggest. A zipper tape does not stretch at all, so a tight fabric that does not stretch much either sits flat against it.
Zipper length is measured along the teeth, from stop to stop, not along the tape. Buy the zipper first and check your panel against it.
Crochet the panel
Chain (ch) 29.
Row 1: sc in the 2nd ch from the hook and in each ch across. (28 sc)
Row 2: ch 1 (does not count as a stitch), turn, sc in each sc across. (28 sc)
Repeat Row 2 until the panel measures 9 in (23 cm) from the foundation chain, about 40 rows. Fasten off and weave in the ends.
Lay the zipper along one short edge. The edge should be the same length as the teeth, or up to 1/4 in (6 mm) longer. If the panel is clearly too wide or too narrow, it is quicker to rework it with a stitch more or less than to fight the zipper later.
Sew in the zipper
The two short edges, the foundation chain and the last row, become the top opening. Each is sewn to one side of the zipper tape.
Pin the first side
- Close the zipper and lay it face up.
- Place one short edge of the panel on top of one tape, right side of the crochet facing up, so the crochet edge runs parallel to the teeth and about 1/8 in (3 mm) away from them. That gap lets the slider pass without catching yarn.
- Line up the corners of the panel with the top and bottom stops. The loose tape ends extend past the crochet on both sides.
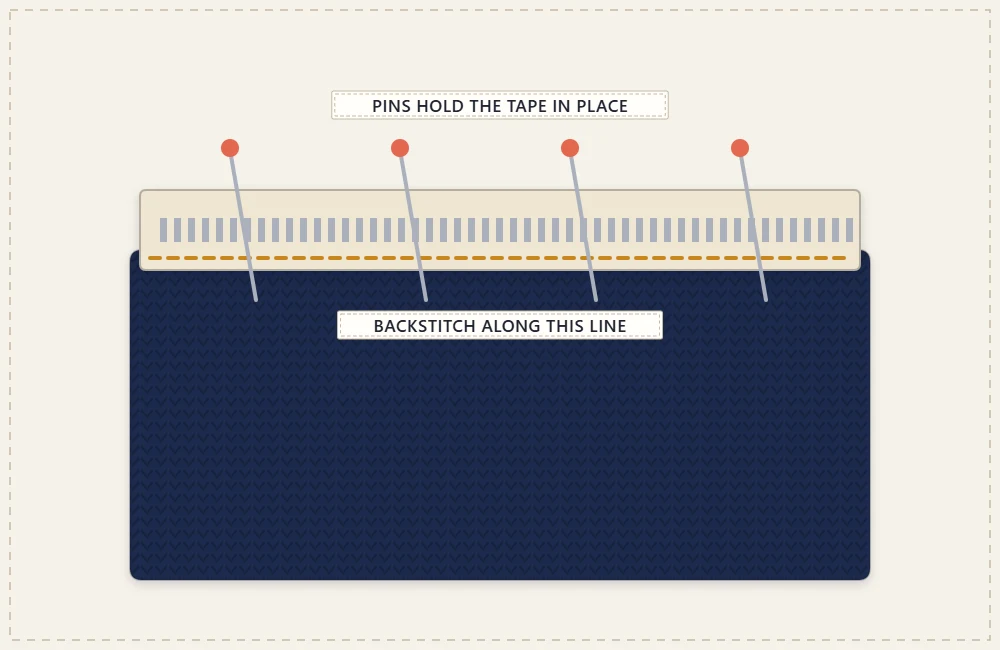
- Pin or clip at the center first, then at both ends, then in between. Do not stretch the crochet to fit; ease it evenly.
Backstitch along the tape
Thread the needle with a doubled length of sewing thread and knot the end. Bring the needle up from the back of the tape at one corner.
Work a backstitch: take the needle down a short step behind where the thread came out, then bring it up the same distance ahead. Each stitch on the front should be about the width of one crochet stitch and should dip between two stitches of the edge row, just under their top loops, where the thread sinks out of sight. On the back, the thread forms a continuous overlapping line along the tape.
Continue to the other corner, take two small stitches on the spot to secure, and cut the thread. Slide the zipper open and closed to check that nothing catches.
Tip
When the slider gets in the way of the needle, stop with the needle in the fabric, move the slider past the area you have already sewn, and carry on. Forcing stitches around the slider is how the line goes crooked.
Sew the second side
Bring the other short edge of the panel up to the second tape, folding the panel so both right sides face out. Before pinning, check that the side edges of the panel line up with each other; if one side is pinned even a stitch off, the pouch will twist. Pin and backstitch exactly as before.
Seam the sides and finish the zipper ends
Open the zipper about halfway so your hand can get inside afterward. With the pouch folded and right sides out, fold each loose tape end down at an angle toward the inside so it is hidden between the layers.
Join yarn at the bottom fold of one side and sc up the side through both layers, one sc in each pair of row ends, to the top. At the top, work the last stitch or two through the crochet only, right beside the zipper stop, and fasten off. Repeat on the other side. A whip stitch seam is flatter if you prefer it; the choices are compared in the guide to assembling and finishing a crochet bag.
Finally, reach inside and tack each folded tape end to the seam with a few stitches of sewing thread so it cannot work its way out.
Watch out
Do not press a nylon or plastic zipper with a hot iron. If the pouch needs flattening, hover a steam iron above the crochet without touching the teeth, then pat it flat by hand.
If the zipper is too long
A nylon coil zipper is easy to shorten. Measure the length you need from the top stops, then sew over the coil at that point with ten or so tight stitches on the spot to make a new bottom stop. Cut the zipper about 3/4 in (2 cm) below the new stop. Metal zippers are much harder to shorten and are best bought to size.
Optional lining
The inside of the pouch shows the back of the zipper tape and the sewing thread. A lining covers both and stops pens, hooks or needles from poking through the fabric. Cut a rectangle of woven cotton the size of the flat panel plus seam allowance, sew its side seams, fold the top edges under, and hand-stitch the folds to the zipper tape on the inside, just clear of the teeth. Measuring, cutting and stitching are explained in full in how to line a crochet bag.
Sizes and variations
Any size works as long as the starting width matches a zipper. At this gauge there are 4 stitches to the inch, so multiply the zipper length in inches by 4 for the stitch count and add 1 for the chain: a 9 in (23 cm) zipper needs 36 sc and a chain of 37. Work the panel to twice the height you want.
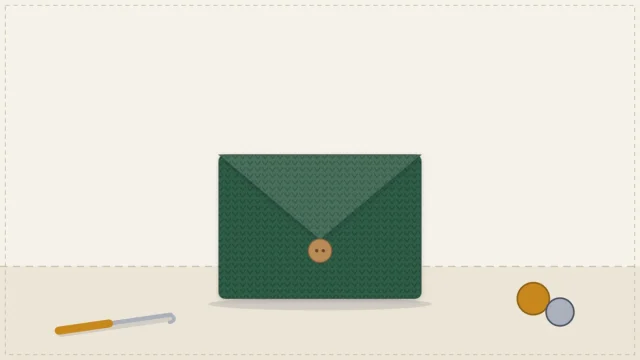
A zipper is the most secure closure for small loose items, but it is not the only one. If hand sewing does not appeal, the envelope-style crochet coin purse closes with a button, and the guide to crochet bag closures compares the alternatives.
Frequently asked questions
Can the zipper be sewn in with a sewing machine?
It is possible with a zipper foot and a long stitch, but thick crochet tends to shift and catch under the foot. Hand backstitching is slower, easier to control and simple to unpick if the line wanders.
Should the zipper be sewn with yarn or sewing thread?
Use sewing thread. Yarn is too thick to pass through zipper tape cleanly and leaves bulky stitches, while a doubled sewing thread is strong and disappears between the crochet stitches.
Why does the top edge of the pouch look wavy?
The crochet edge was probably stretched while it was pinned, or the fabric is looser than the gauge. Unpick that side, ease the edge back to the length of the teeth, and pin from the center outward before sewing again.