Crochet Coin Purse: An Easy Envelope Pattern
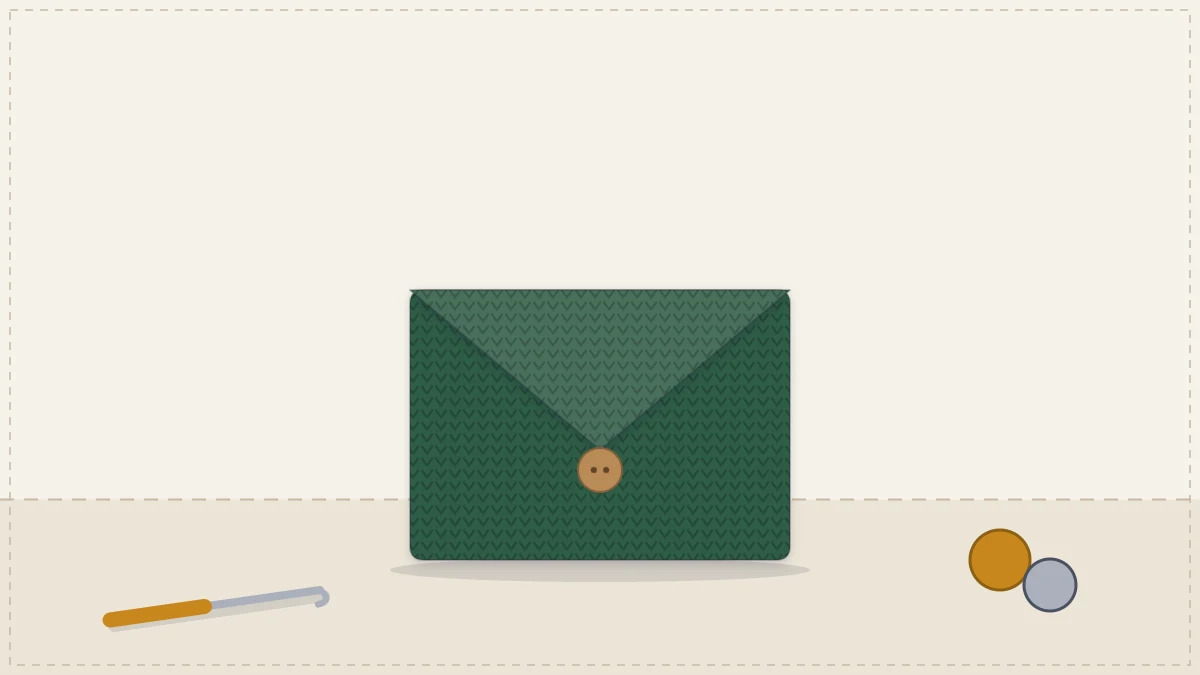
A small envelope-style coin purse made from one strip of single crochet with a decreased, pointed flap and a button loop. It uses about 40 yards of cotton.
Tutorial at a glance
Materials
- Worsted (#4) cotton yarn, about 40 yd (37 m)
- US G-6 (4 mm) crochet hook
- One button, about 5/8 in (15 mm)
- Yarn needle
- Scissors
- Two stitch markers
A coin purse is one strip of single crochet: the lower part folds up to make the pocket, and the top narrows to a point that buttons down like the flap of an envelope. It uses about 40 yards of yarn, so leftovers from a larger bag are enough, and the whole thing fits comfortably into one evening.
The pattern below is worked flat in rows from the front edge to the tip of the flap, with no pieces to cut apart or join except the two short side seams.
What you need
- Worsted (#4) cotton yarn, about 40 yd (37 m)
- US G-6 (4 mm) crochet hook
- One button, about 5/8 in (15 mm) across
- Yarn needle and scissors
- Two stitch markers or scraps of contrasting yarn
Cotton is the better choice here because coins are heavy for their size and a soft, springy yarn lets the pocket sag. The hook is deliberately smaller than most worsted cotton labels suggest: a tight fabric has no gaps for small coins to work through.
Gauge and finished size
Gauge: 16 single crochet and 18 rows = 4 in (10 cm). This is tighter than the label gauge on purpose. If your swatch has fewer stitches in 4 in, go down a hook size.
Finished size: about 4.5 in wide x 3.5 in tall (11.5 x 9 cm) when closed, with a flap that reaches roughly halfway down the front.
Stitches and abbreviations
- Chain (ch)
- Single crochet (sc)
- Single crochet two together (sc2tog): insert the hook in the next stitch and pull up a loop, insert the hook in the following stitch and pull up a loop, yarn over and pull through all three loops. One stitch decreased.
Throughout the pattern, the ch 1 at the start of a row is a turning chain only and does not count as a stitch. Work the first sc of each row into the very first stitch.
The pocket: rows 1 to 32
Leave a tail of about 12 in (30 cm) before the slip knot. It will be used later to sew one side seam.
Foundation: Ch 19.
Row 1: Sc in the second ch from the hook and in each ch across. (18 sc)
Rows 2 to 32: Ch 1, turn, sc in each stitch across. (18 sc)
Count the stitches every few rows. The usual beginner slip is missing the last stitch of a row, which slowly narrows the strip. After row 32 the piece should measure about 4.5 in (11.5 cm) wide and 7 in (18 cm) long. Place a marker at each end of row 16 to mark the fold, and another pair at each end of row 32, where the flap begins.
The flap: rows 33 to 40
The flap loses one stitch at each edge on every row, so the count drops by two each time until only two stitches remain.
Row 33: Ch 1, turn, sc2tog, sc in each of the next 14 stitches, sc2tog. (16 sc)
Rows 34 to 39: Ch 1, turn, sc2tog, sc in each stitch across to the last 2 stitches, sc2tog.
Row 40: Ch 1, turn, sc2tog twice. (2 sc)
| Row | Sc between the two decreases | Stitches at end of row |
|---|---|---|
| 33 | 14 | 16 |
| 34 | 12 | 14 |
| 35 | 10 | 12 |
| 36 | 8 | 10 |
| 37 | 6 | 8 |
| 38 | 4 | 6 |
| 39 | 2 | 4 |
| 40 | 0 | 2 |
Do not cut the yarn. The button loop is made next, directly on the last two stitches.
The button loop
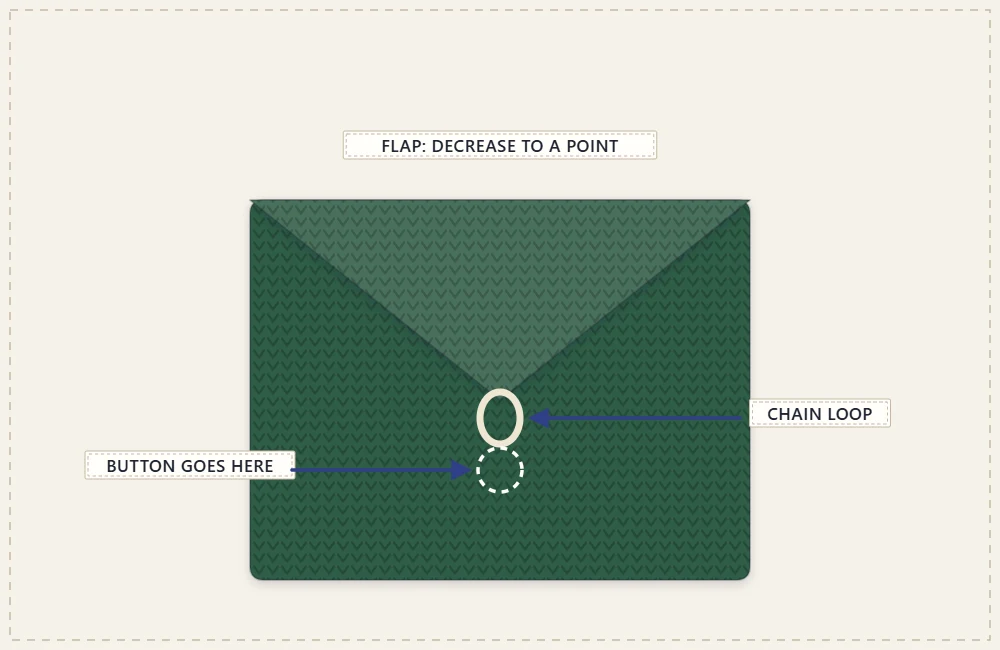
Row 41: Ch 1, turn, sc in the first stitch, ch 6, sc in the last stitch. Fasten off, leaving a 6 in (15 cm) tail.
The six chains form a small arch at the tip of the flap. Before fastening off, push your button through it. The loop should need a slight stretch to pass over the button; a loop that slides on easily will also slide off. Pull out and rework the row with ch 5 for a smaller button or ch 7 or 8 for a larger one. Weave the tail back through the base of the loop a couple of times, since this is the point that takes the most handling.
Folding and seaming
- Lay the strip flat with the foundation edge nearest to you and the flap pointing away.
- Fold the foundation edge up along row 16 until it meets the markers at row 32. Rows 1 to 16 are now the front of the pocket and rows 17 to 32 the back.
- Thread the starting tail onto the yarn needle and whip stitch one side closed, catching one row end from the front and the matching row end from the back with each stitch. Make two stitches in the same place at the top corner, where the opening pulls hardest.
- Seam the second side with a new length of yarn in the same way.
- Weave in every end through at least 2 in (5 cm) of stitches, changing direction once.
Whip stitch gives the flattest result on a piece this small. The other seaming options are compared in the guide to assembling and finishing a crochet bag.
Sewing on the button
Close the flap and let it rest naturally on the front. Put a pin or marker through the middle of the chain loop into the front layer only: that is the button position, centered across the width and usually about 1.5 in (4 cm) below the opening. Sew the button to the front layer alone, keeping a hand inside the pocket so the needle does not catch the back.
Wrap the thread several times around the stitches under the button to make a short shank. Crochet fabric is thick, and without that small gap the loop will not sit behind the button. Toggles, snaps and other options are covered in the article on crochet bag closures.
Changing the size
The flap shaping works with any even number of stitches, because the count then always lands on two. Each extra stitch adds about 1/4 in (6 mm) of width at this gauge, and the flap grows by one row for every two stitches added.
- Card size: ch 23 for 22 sc, about 5.5 in (14 cm) wide. Work 36 plain rows and fold at row 18, then decrease over 10 rows down to 2 sc.
- Earbud size: ch 15 for 14 sc, about 3.5 in (9 cm) wide. Work 24 plain rows and fold at row 12, then decrease over 6 rows down to 2 sc.
If loose coins are likely to escape at the corners of the flap, a zipper holds them better; the crochet zipper pouch uses the same folded rectangle with a sewn-in zipper. For a round, cinched shape instead of an envelope, try the drawstring pouch.
Frequently asked questions
Can a coin purse be made with acrylic yarn instead of cotton?
Yes, but acrylic is softer and stretchier, so drop one more hook size to keep the fabric tight. Expect the pocket to hold its shape a little less well than a cotton one.
Does a crochet coin purse need a lining?
Not at this gauge. Tight single crochet in worsted cotton has no gaps large enough for ordinary coins, though a lining helps if you used a larger hook or thinner yarn.
Why is one edge of the flap coming out uneven?
Usually a decrease was skipped at one end of a row. Count after each flap row: the total should drop by exactly two every time.