How to Line a Crochet Bag With Fabric
A step-by-step method for adding a fabric lining to a finished crochet bag: measuring, cutting with seam allowance, adding a pocket, and hand-stitching it to the top edge.
Tutorial at a glance
Materials
- Finished, blocked crochet bag
- Medium-weight woven cotton fabric, prewashed (about 1/2 yd or 0.5 m for a medium tote)
- Sewing thread to match the fabric and the yarn
- Hand sewing needle, or a sewing machine for the seams
- Tape measure and ruler
- Fabric scissors
- Pins or sewing clips
- Fabric marker or chalk
- Iron
A fabric lining turns a soft, slightly holey crochet bag into one that keeps pens, keys and coins inside and does not stretch downward when it is full. It is a short sewing job: a few straight seams and one round of hand stitching.
When a bag needs a lining
- The stitch has gaps: granny squares, moss stitch, anything in double crochet (dc).
- The bag will carry small or pointed things that poke through the fabric.
- The yarn has some stretch, as acrylic and wool blends do, and the bag will carry weight.
- You want a pocket, a zipper or a magnetic snap, all of which need woven fabric to hold them.
Mesh market bags and beach bags are usually left unlined, because stretch and drainage are the point of them.
Choosing the fabric
Medium-weight woven cotton, such as quilting cotton, poplin or light canvas, is the easiest to cut and sew. Avoid knit fabrics: they stretch, which defeats one of the main purposes of a lining.
Wash, dry and press the fabric before cutting so it does not shrink inside the finished bag. For a bag that needs more body, iron-on interfacing can be fused to the wrong side of the lining pieces first; that option is covered in how to reinforce a crochet bag.
Measure the finished bag, not the pattern
Crochet rarely ends up exactly the size a pattern states, and it changes again after blocking. Finish the bag completely, block or steam it, and then lay it flat and measure it without stretching:
- Width (W): across the bag from side to side, just below the top edge.
- Height (H): from the top edge to the bottom fold or to the edge of the base.
- Depth (D): the width of the base from front to back, if the bag has one. A flat bag has no depth.
Cutting with seam allowance
Cut two identical rectangles. The allowances used here are 1/2 in (1.3 cm) for each seam and 1 in (2.5 cm) to turn under at the top.
| Bag type | Cut width | Cut height |
|---|---|---|
| Flat bag, no base | W + 1 in (2.5 cm) | H + 1.5 in (3.8 cm) |
| Bag with a base | W + D + 1 in (2.5 cm) | H + half of D + 1.5 in (3.8 cm) |
Two worked examples:
- A flat bag 12 in wide and 13 in tall needs two pieces 13 in wide x 14.5 in tall (33 x 37 cm).
- A tote 12 in wide, 11 in tall and 4 in deep needs two pieces 17 in wide x 14.5 in tall (43 x 37 cm): 12 + 4 + 1 across, and 11 + 2 + 1.5 down.
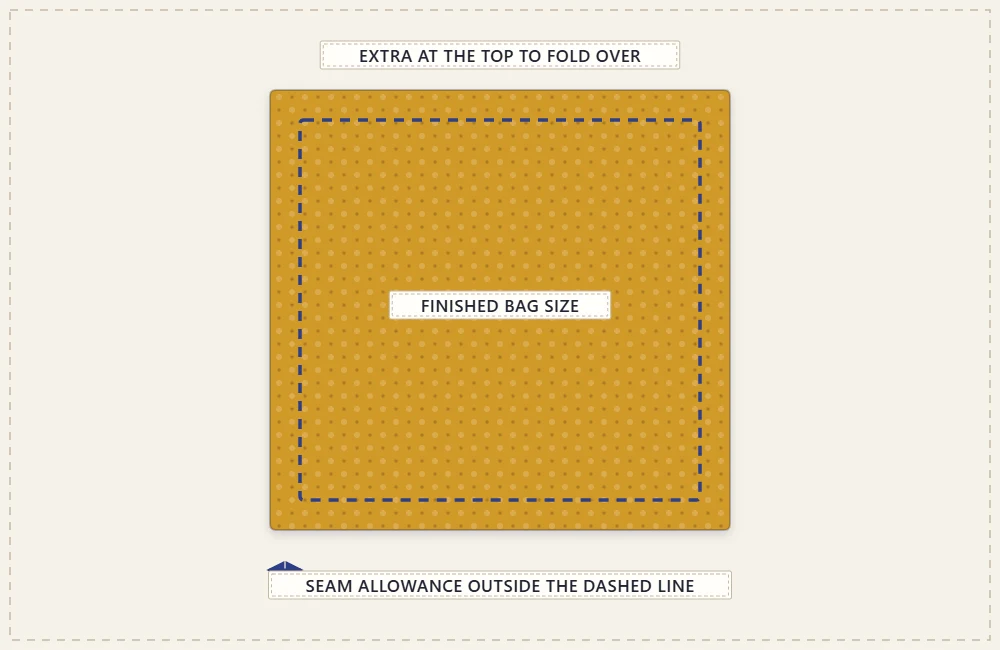
A round-based bag such as a bucket bag needs a circle for the base and one long rectangle for the wall instead. Cut the circle 1 in (2.5 cm) wider than the base, and the rectangle as long as the bag’s circumference plus 1 in (2.5 cm) and as tall as H + 1.5 in (3.8 cm).
Adding a pocket
A pocket is sewn to one lining piece while it is still flat, before the side seams.
- Cut a rectangle 7 in wide x 11 in tall (18 x 28 cm) for a finished pocket about 6 x 5 in (15 x 13 cm).
- Fold it in half with right sides together so it measures 7 x 5.5 in. Sew around the three open sides with a 1/2 in (1.3 cm) seam, leaving a 2 in (5 cm) gap in the bottom edge.
- Clip the corners, turn it right side out through the gap, and press.
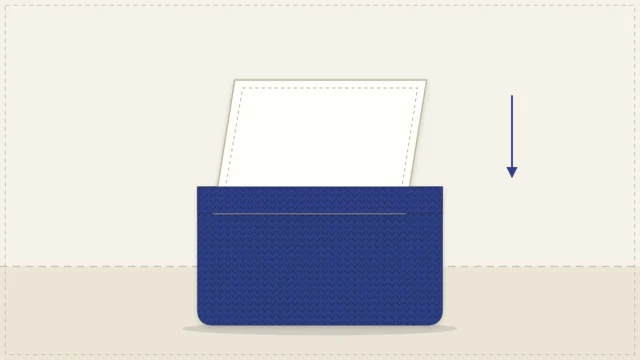
- Pin it to the right side of one lining piece, centered, with the folded edge at the top and at least 3 in (7.5 cm) below the top edge of the lining. Topstitch down one side, across the bottom and up the other side, closing the gap as you go.
Sewing the lining bag
The seams can be sewn by machine or by hand with a small backstitch; the steps are the same.
- Place the two pieces right sides together and sew down one side, across the bottom and up the other side with a 1/2 in (1.3 cm) seam. Leave the top open.
- For a bag with a base, box the corners. Pinch one bottom corner so the side seam lies on top of the bottom seam and the corner forms a triangle. Measure in from the point until the triangle is as wide as the depth of the bag (for a 4 in depth, that is 2 in from the point), draw a line straight across, and sew along it. Repeat on the other corner and trim off the points.
- Press the seams open. Fold the top edge 1 in (2.5 cm) to the wrong side all the way around and press it firmly.
- Do not turn the lining right side out. Its wrong side should face the crochet, so the seams end up hidden between the two layers.
Tip
Try the lining in the bag before pressing the top fold. If it wrinkles, sew the side seams again a little further in.
Stitching the lining to the top edge
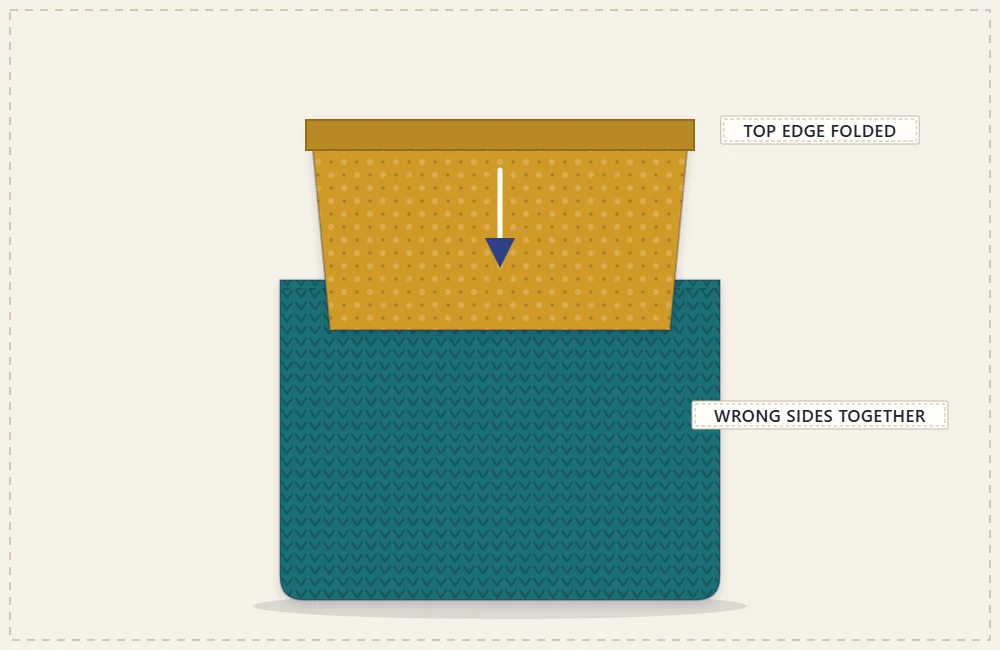
- Slip the lining into the bag and push its corners into the corners of the base.
- Set the folded top edge about 1/4 to 1/2 in (6 to 13 mm) below the rim of the bag, so no fabric shows from outside. Pin or clip at the two side seams, then at the center front and back, then in between.
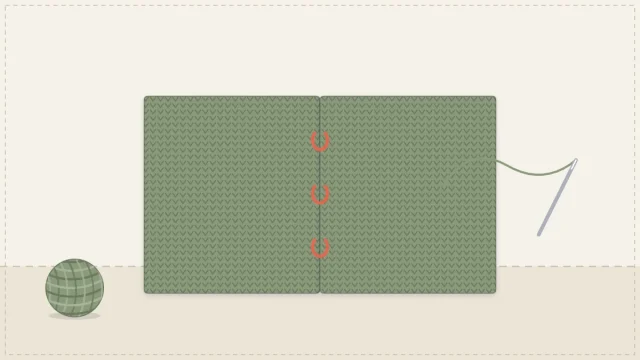
- Thread a sewing needle with thread that matches the yarn. Sew the fold to the crochet with a small slip stitch or whip stitch: take a tiny bite of the fabric fold, then pass the needle under a strand on the inside of a crochet stitch without going through to the outside.
- Keep the stitches about 1/4 in (6 mm) apart and do not pull them tight.
Sew strap and handle ends to the bag before the lining goes in, so their stitching is covered. A zipper or magnetic snap is attached to the lining before it is stitched into the bag; see crochet bag closures for placement, and the crochet zipper pouch for sewing a zipper by hand.
No-sew alternatives
- Fusible hem tape can close the seams of the lining and hold the top fold, though it does not grip crochet well.
- Fabric glue holds a lining in small, lightly used pouches, but it stiffens the edge.
- A drop-in pouch, a ready-made fabric bag slightly smaller than the crochet one, simply sits inside and can be lifted out for washing.
A simple rectangular bag is the easiest shape to line for the first time, and the crochet tote bag pattern is a good candidate.
Frequently asked questions
Should the lining be the same size as the crochet bag?
Make it the same size or very slightly smaller. A lining that is a touch smaller carries the weight of the contents, so the crochet does not stretch.
Can a crochet bag be lined without a sewing machine?
Yes. The seams of the lining can be sewn by hand with a small backstitch, and the lining is always attached to the bag by hand anyway.
Will a lining stop a crochet bag from stretching?
It limits stretch in the body, because woven fabric does not lengthen the way crochet does. Straps are separate and need their own reinforcement.