Easy Crochet Bag in the Round (No Sewing)
A seamless bag with an oval base, half double crochet sides and handles made by chaining across a gap. Nothing to sew except two yarn tails.
Tutorial at a glance
Materials
- Worsted (#4) cotton yarn, about 200 yd (183 m)
- US H-8 (5 mm) crochet hook
- 1 locking stitch marker
- Yarn needle
- Scissors and tape measure
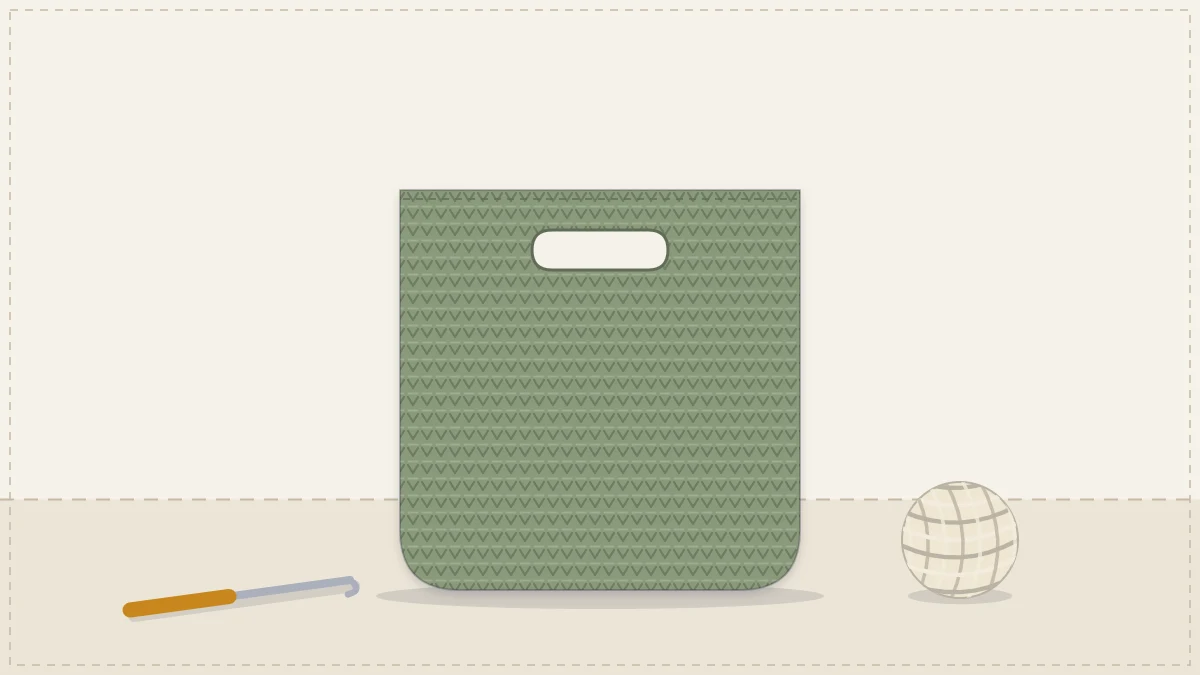
A bag worked in the round has no seams to sew. It starts as a flat oval, turns upward into a tube and ends with two handles that are made by chaining across a gap. When the last stitch is done, the only finishing left is two yarn tails.
This version uses worsted cotton, a single crochet (sc) base for firmness and half double crochet (hdc) sides, which grow faster than single crochet while staying dense enough for everyday use.
Materials and gauge
- Worsted (#4) cotton yarn, about 200 yd (183 m)
- US H-8 (5 mm) crochet hook
- 1 locking stitch marker
- Yarn needle and scissors
Gauge: 14 hdc and 11 rounds = 4 in (10 cm). The single crochet base works out to about the same 14 stitches across 4 in (10 cm). This is firmer than the yarn label will suggest, which is what a bag needs. If your fabric has visible gaps, go down to a US 7 (4.5 mm) hook.
Finished size: about 11.5 in wide and 9 in tall (29 x 23 cm), with a base roughly 10 in long and 3 in deep (25 x 8 cm).
Stitches and how the rounds work
- Chain (ch) and slip stitch (sl st)
- Single crochet (sc): insert hook, pull up a loop, yarn over and pull through both loops.
- Half double crochet (hdc): yarn over, insert hook, pull up a loop (3 loops on the hook), yarn over and pull through all three.
- Increase: 2 sc in the same stitch.
The whole bag is worked in a continuous spiral. Rounds are not joined and there is no turning chain. Put the stitch marker in the first stitch of every round and move it up as you go; without it there is no way to see where a round begins.
The oval base
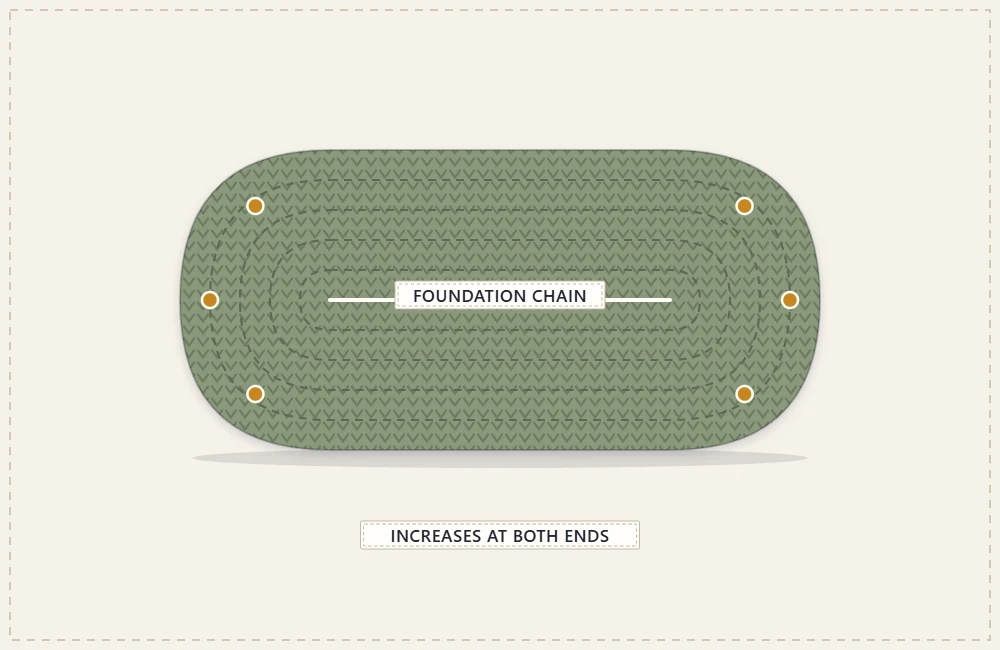
The base is worked around both sides of a foundation chain. Each round adds 6 stitches.
- Foundation: Ch 25.
- Rnd 1: Sc in the 2nd ch from the hook and in each of the next 22 ch, 3 sc in the last ch. Rotate the work so the bottom of the chain is on top. Sc in each of the next 22 ch, 2 sc in the last ch (the same one that holds the first sc). (50 sc)
- Rnd 2: 2 sc in the first st, sc in the next 22 sts, 2 sc in each of the next 3 sts, sc in the next 22 sts, 2 sc in each of the last 2 sts. (56 sc)
- Rnd 3: 2 sc in the next st, sc in the next 23 sts, [2 sc in the next st, sc in the next st] 3 times, sc in the next 22 sts, [2 sc in the next st, sc in the next st] 2 times. (62 sc)
- Rnd 4: 2 sc in the next st, sc in the next 24 sts, [2 sc in the next st, sc in the next 2 sts] 3 times, sc in the next 22 sts, [2 sc in the next st, sc in the next 2 sts] 2 times. (68 sc)
- Rnd 5: 2 sc in the next st, sc in the next 25 sts, [2 sc in the next st, sc in the next 3 sts] 3 times, sc in the next 22 sts, [2 sc in the next st, sc in the next 3 sts] 2 times. (74 sc)
- Rnd 6: 2 sc in the next st, sc in the next 26 sts, [2 sc in the next st, sc in the next 4 sts] 3 times, sc in the next 22 sts, [2 sc in the next st, sc in the next 4 sts] 2 times. (80 sc)
The base should lie flat. If the ends ruffle, your increases are too loose or doubled somewhere, so recount that round. If the base curls into a bowl, an increase was missed. Other base shapes, and the reasoning behind these numbers, are explained in the guide to crochet bag base shapes.
The sides
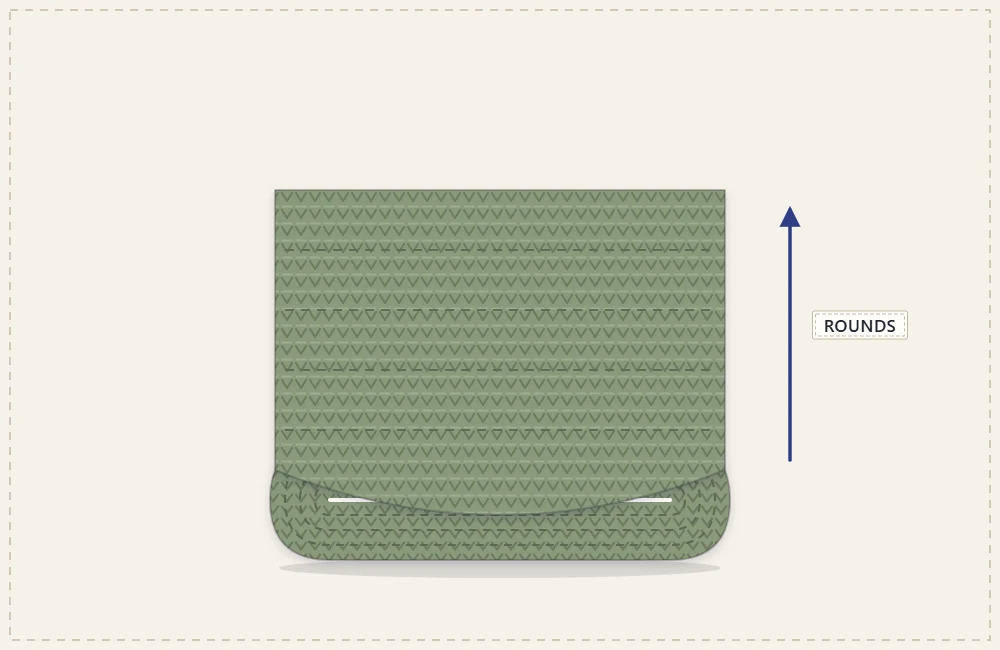
- Rnd 7: Working in the back loop only, hdc in each st around. (80 hdc)
- Rnd 8: Working through both loops again, hdc in each st around. (80 hdc)
The back-loop round leaves a small ridge and a crisp fold where the base meets the sides.
Repeat Rnd 8 until the sides measure 8 in (20 cm) from the ridge. At this gauge that is about 22 rounds, but measure rather than count; the stitch total stays at 80 the whole way.
The handles
Before starting the handles, check where the round begins. Flatten the bag so the two curved ends of the base are at the side folds. The marker should sit at one fold. Spiral rounds lean slightly, so if the marker has drifted, work a few more hdc until you reach the fold and move the marker there.
- Handle Rnd 1: [Hdc in the next 12 sts, ch 16, skip the next 16 sts, hdc in the next 12 sts] 2 times. (48 hdc and 2 ch-16 spaces)
- Handle Rnd 2: Hdc in each hdc around, working 16 hdc into each ch-16 space. (80 hdc)
- Handle Rnd 3: Hdc in each st around. (80 hdc)
In Handle Rnd 2, work around the whole chain, inserting the hook under it rather than into the individual chains. Each opening is about 4.5 in (11.5 cm) wide, enough for a hand.
Finish: Sc in the next st, sl st in each of the next 2 sts. This steps the spiral down so the top edge looks level. Fasten off and weave in both ends.
Watch out
Keep the ch 16 at your normal tension. A tight chain pulls the top edge inward and a loose one leaves a floppy handle. Count the 16 skipped stitches carefully too: one off, and the two handles will not line up when the bag is held closed.
Changing the size
The base sets the width. For every stitch added to the foundation chain, add one stitch to each of the two straight runs in every round, and the final count grows by 2. Keep the total a multiple of 4 so the handle round divides evenly, then adjust the stitches on each side of the handle gap.
For more height, simply keep repeating Rnd 8.
Where to go from here
The classic crochet tote uses the same idea with a rectangular base and long shoulder handles. To practice straight rows first, the first crochet bag is a single folded rectangle. For a stiffer fabric than half double crochet gives, compare the options in sturdy crochet stitches for bags.
Frequently asked questions
Why is my oval base curling up at the edges?
Curling means there are too few stitches, usually because an increase was missed at one of the curved ends. Recount the round against its stated total and redo it if the number is short.
Do I join each round with a slip stitch?
No. This bag is worked in a continuous spiral, so you simply keep going and move the stitch marker up at the start of each round. That avoids a visible seam line up the side.
Can I make the handles longer?
Yes. Chain more than 16 across the same 16 skipped stitches and work one stitch for every chain in the next round. The stitch count of the last two rounds will be higher than 80 by the number of extra chains in both handles combined.