Crochet Bucket Bag Pattern With a Drawstring Top
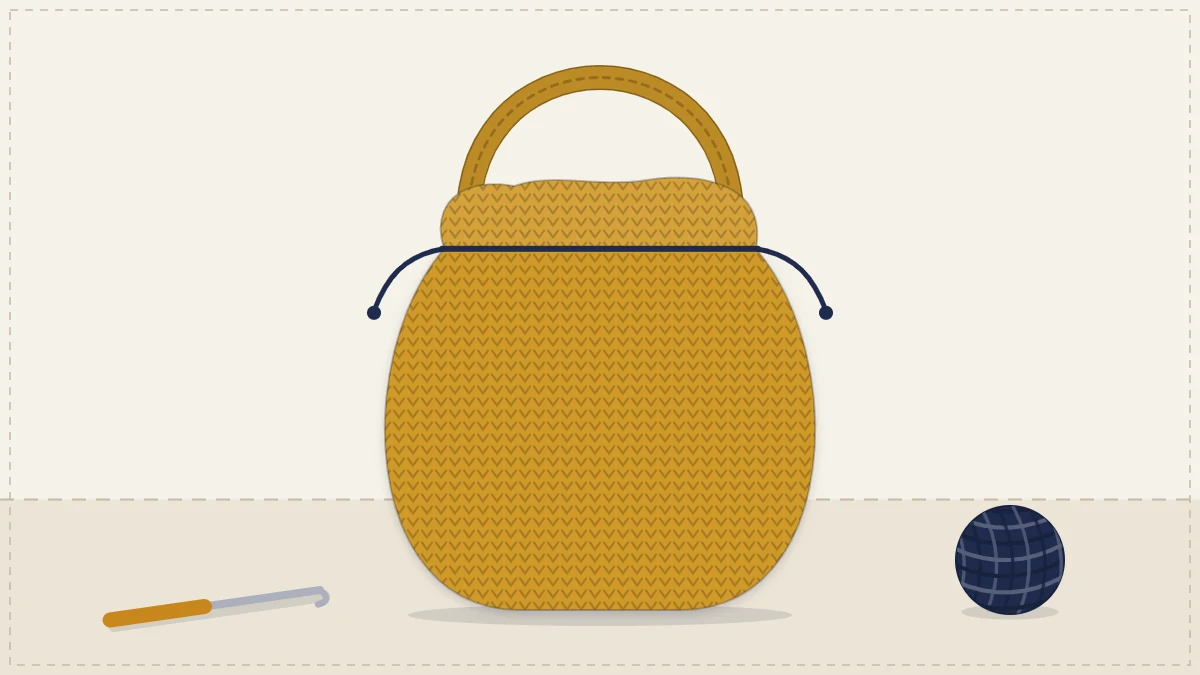
A round-bottomed bucket bag in dense single crochet: a flat circle base with every increase round listed, straight sides, an eyelet round, a drawstring and a shoulder strap.
Tutorial at a glance
Materials
- Worsted (#4) cotton yarn, about 280 yd (255 m)
- US G-6 (4 mm) crochet hook
- 2 stitch markers
- Yarn needle
- Scissors
- Safety pin for threading the drawstring
A bucket bag is three simple shapes stacked together: a flat circle, a straight tube and a row of holes for a cord. Worked tightly in single crochet, it stands up on its own base and cinches shut at the top, with nothing to sew except the strap.
Materials and gauge
- Worsted (#4) cotton yarn, about 280 yd (255 m)
- US G-6 (4 mm) crochet hook
- Two stitch markers, a yarn needle, scissors and a safety pin
Gauge: 16 single crochet and 18 rounds = 4 in (10 cm). This is tighter than the hook size printed on most worsted cotton labels, on purpose. A bucket bag relies on stiff fabric to hold its round shape, and a smaller hook is the simplest way to get it.
Finished size: base about 6.5 in (16.5 cm) across, bag about 9.5 in (24 cm) tall, not counting the strap.
Stitches used
US terms: chain (ch), slip stitch (sl st) and single crochet (sc). An increase (inc) means 2 sc worked in the same stitch. The bag is worked in a continuous spiral without joining, so keep a marker in the first stitch of every round and move it up as you go.
The circle base
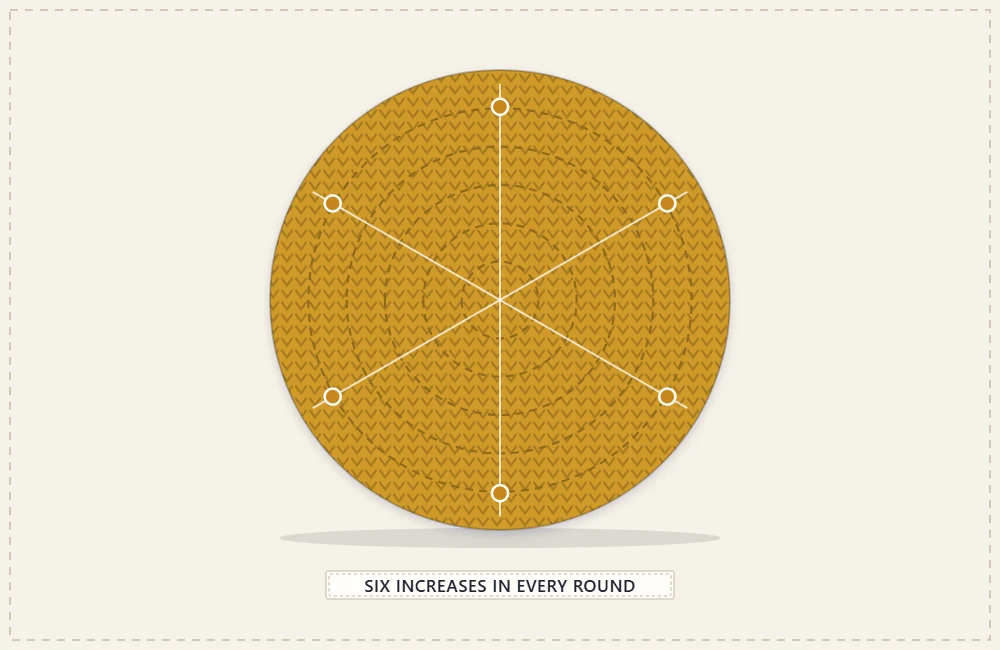
A flat circle in single crochet starts with 6 stitches and gains exactly 6 in every round.
- Round 1: Make a magic ring and work 6 sc into it. Pull the ring closed. (6 sc)
- Round 2: Inc in each stitch around. (12 sc)
- Round 3: [Sc in the next stitch, inc] 6 times. (18 sc)
- Round 4: [Sc in the next 2 stitches, inc] 6 times. (24 sc)
From here every round follows the same rule: one more plain sc before each increase than in the round before, repeated 6 times.
| Round | Repeat 6 times | Total |
|---|---|---|
| 5 | sc in next 3, inc | 30 sc |
| 6 | sc in next 4, inc | 36 sc |
| 7 | sc in next 5, inc | 42 sc |
| 8 | sc in next 6, inc | 48 sc |
| 9 | sc in next 7, inc | 54 sc |
| 10 | sc in next 8, inc | 60 sc |
| 11 | sc in next 9, inc | 66 sc |
| 12 | sc in next 10, inc | 72 sc |
| 13 | sc in next 11, inc | 78 sc |
| 14 | sc in next 12, inc | 84 sc |
Tip
To keep the base round instead of slightly hexagonal, shift the increases on every other round. On Round 6, for example, work sc in the next 2 stitches, inc, then [sc in the next 4, inc] 5 times, and finish with sc in the last 2. The total is still 36.
The finished base should lie flat and measure about 6.5 in (16.5 cm). Why circles ruffle or cup, and how to correct each, is explained in the guide to crochet bag base shapes.
Turning the corner and working the sides
- Round 15: Sc in the back loop only of each stitch around. (84 sc)
- Round 16 onward: Sc in both loops of each stitch around. (84 sc)
- Repeat until the sides measure 8 in (20 cm) from the back-loop round. At this gauge that is about 36 rounds, but measure instead of counting.
The back-loop round leaves a ridge of unused front loops around the edge of the base. That ridge acts as a hinge: the fabric folds sharply there, so the sides rise straight up instead of curving out of the base like a bowl.
Single crochet at this gauge is already dense. For an even firmer bucket, add a stiff base insert as described in how to reinforce a crochet bag.
The eyelet round and top edge
The eyelets need a stitch count divisible by 6, and 84 gives 14 of them. An even number matters: the cord then goes in and out the same number of times and both ends finish on the outside.
- Eyelet round: [Sc in the next 4 stitches, ch 2, skip the next 2 stitches] 14 times. (56 sc and 14 ch-2 spaces)
- Next round: [Sc in the next 4 stitches, 2 sc in the ch-2 space] 14 times. (84 sc)
- Next 3 rounds: Sc in each stitch around. (84 sc)
- Last round: Sl st loosely in each stitch around. Fasten off and weave in the end.
The slip stitch round stops the top edge from stretching.
The drawstring
Two cords work well here; choose one.
Twisted cord
- Cut 3 strands of yarn, each about 3.5 yd (3.2 m) long. Knot them together at both ends.
- Hook one end over a door handle, or have someone hold it. Twist the other end in one direction until the strands kink when the tension is relaxed.
- Keeping the cord taut, bring the two ends together. Let the folded cord twist back on itself from the middle, smoothing it with your fingers.
- Knot the open end and trim. The cord finishes at roughly a third of the cut length, about 40 in (100 cm).
Chain cord
Chain until the cord measures 40 in (100 cm), then sl st in the 2nd ch from the hook and in each chain back to the start. Fasten off.
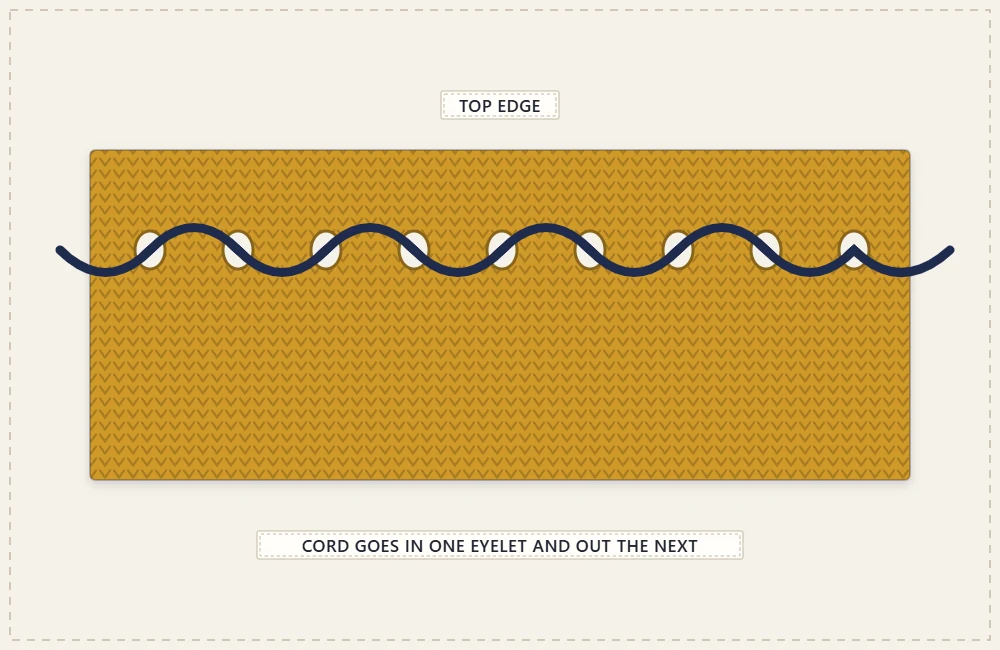
Pin the safety pin to one end of the cord. Starting from the outside at the center front, thread it in through one eyelet and out through the next, all the way around. Both ends emerge at the front. Knot each end and tie them in a bow, or add a cord stop. Other ways to shut a bag are compared in crochet bag closures.
The shoulder strap
- Ch 7.
- Row 1: Sc in the 2nd ch from the hook and in each chain across, turn. (6 sc)
- Row 2: Ch 1 (does not count as a stitch), sc in each stitch across, turn. (6 sc)
- Repeat Row 2 until the strap measures 30 in (76 cm). Fasten off, leaving a long tail.
Mark the two sides of the bag: one marker at the start of the round and one 42 stitches away, both a quarter turn from where the cord ends come out. Sew each strap end to the outside of the bag just below the eyelet round, overlapping the body by 1.5 in (4 cm) and stitching around all four edges of the overlap.
Watch out
Do not sew the strap across the eyelet round or above it. The top has to gather freely, and a strap stitched over the eyelets traps the cord.
A cotton strap lengthens with wear, so it is deliberately a little short. For a softer bag whose strap is part of the body, see the slouchy crochet shoulder bag.
Frequently asked questions
How can the bucket bag be made larger?
Keep adding base rounds, 6 stitches at a time, and stop on a total that divides by 6 so the eyelet round still works. Every round adds a little under half an inch (about 1 cm) to the diameter at this gauge.
Why is one round worked in the back loop only?
It creates a fold line between the base and the sides. Without it the fabric curves gradually and the bag looks like a bowl instead of a bucket.
Which drawstring is stronger, twisted or chain?
A three-strand twisted cord is thicker and slides more smoothly through the eyelets. A chain cord with a return row of slip stitches is quicker to make and perfectly adequate for a bag of this size.