Crochet Bag Handles: Five Types and How to Attach Them
How to make and attach short handles on a crochet bag: chain-gap handles, sewn-on handles, rope-core handles, wooden rings, bamboo D-handles and leather tabs.
Handles and straps do different jobs. A strap is long and hangs the bag from the shoulder or across the body; a handle is short, meant for the hand or the crook of the arm, and usually comes in a pair. Because handles are short they stretch far less than straps, so the main questions are how they are built and how firmly they are attached.
Crocheted-on chain-gap handles
This is the no-sew handle: on one of the top rounds, a length of chain replaces a group of stitches, leaving a slot. It is quick, and since the handle is part of the bag there is nothing to come unstitched.
The arithmetic is simple as long as each face of the bag is treated separately. Take a bag with 80 single crochet (sc) in the round, 40 across the front and 40 across the back, with the round starting at one side:
- Handle round: *Sc in each of the next 13 stitches, chain (ch) 14, skip the next 14 stitches, sc in each of the next 13 stitches; repeat from * once more. That is 13 + 14 + 13 = 40 on each face. (52 sc and 28 ch)
- Next round: Sc in each sc and in each ch around. (80 sc)
- Work 2 or 3 more rounds of sc to thicken the top of the handle.
Chaining the same number as you skip gives a cut-out slot that lies flush with the rim. Chaining more than you skip, for example ch 24 over the same 14 skipped stitches, makes a handle that arches above the rim; the following round then has 13 + 24 + 13 = 50 stitches on each face, 100 in total. The classic crochet tote uses this method for shoulder-length handles.
Handles made separately and sewn on
A separate handle can be wider, thicker or a different color from the bag, and it can be replaced if it wears out. Make a flat strip in rows of sc worked along its length, about 5 rows wide, then fold it in half lengthwise along the middle section and whip stitch the edges together, leaving 1.5 in (4 cm) flat and open at each end.
Sew each flat end to the inside or outside of the bag with a square of stitches and a cross through the middle. Methods for keeping longer strips from stretching are in the guide to crochet bag straps.
Rolled handles over rope or cord
Crocheting over a core gives a firm, round handle that does not stretch at all, because the rope carries the weight and the yarn only covers it. Cotton rope or piping cord about 1/4 to 3/8 in (6 to 10 mm) thick suits worsted (#4) yarn.
- Cut the rope to the handle length plus 3 in (7.5 cm), and wrap the cut ends with tape so they do not fray.
- Make a strip of sc in rows, just wide enough to wrap around the rope, usually 4 to 6 stitches, and as long as the handle without the extra 3 in.
- Wrap the strip around the middle of the rope and whip stitch the long edges together, leaving 1.5 in (4 cm) of bare rope at each end.
- Push each rope end to the inside of the bag between two stitches a few rounds below the rim, lay it flat against the inside, and sew it down firmly along its whole length, through the rope as well as around it.
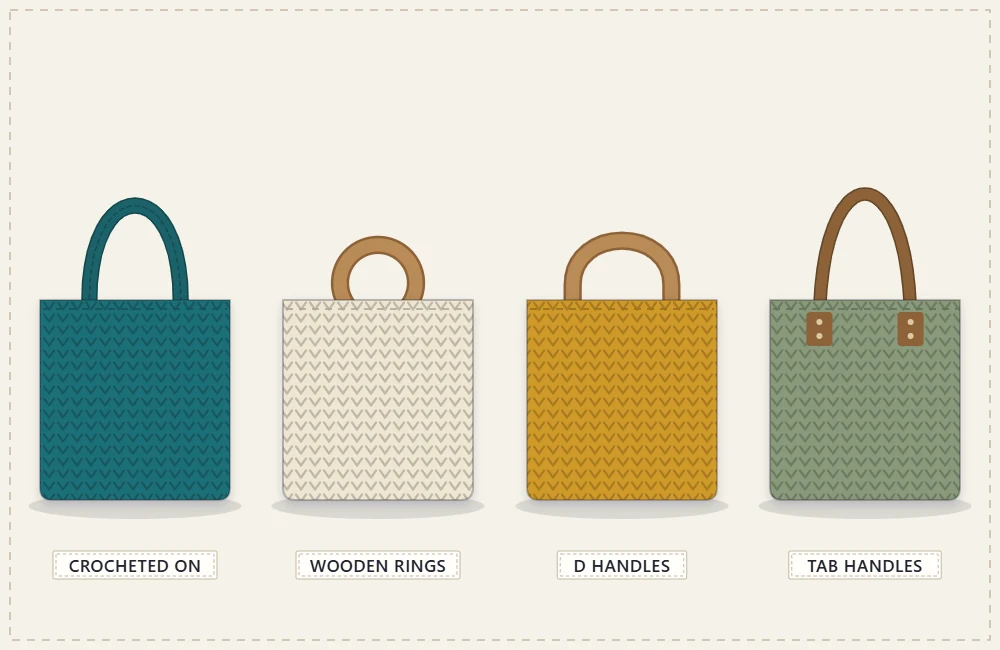
Wooden rings and bamboo D-handles
Ready-made handles give a bag an instant finished look and keep their shape whatever the yarn does. They are attached in one of two ways.
Working stitches over the handle
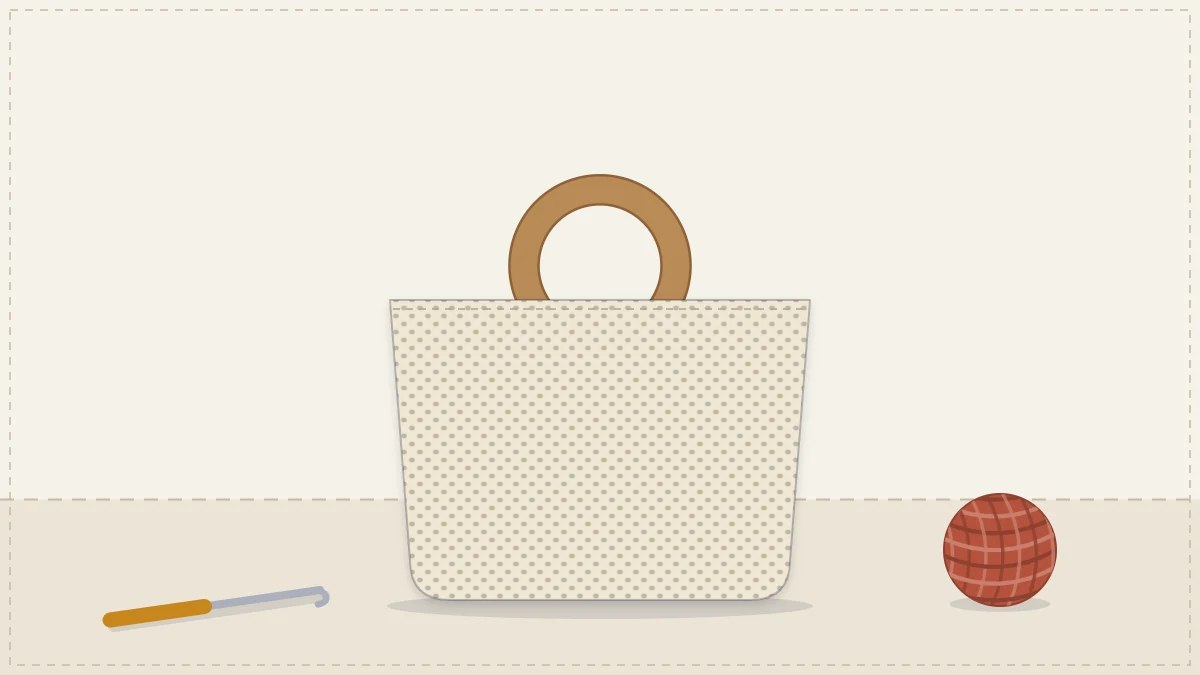
Hold the ring or the straight bar of the D-handle against the top edge of the bag. For each stitch, insert the hook into the next stitch of the rim, bring the yarn up from behind the handle, and finish the sc so the stitch wraps around the wood. Cover only the central section of each face, leaving the sides of the rim free so the bag can open. For a ring, the covered section is short, roughly a third of the ring.
Fold-over tabs
For a D-handle or a handle with a slot, work a tab instead. Join the yarn on the rim, work rows of sc back and forth across the central stitches (the tab should be slightly narrower than the bar or slot) until the tab is about 2 in (5 cm) tall, then pass it through or around the handle, fold it down to the inside, and sew its last row to the bag.
If the rim of the bag is wider than the handle, the fabric will gather under it, which is the intended look of many ring-handle bags.
Tab handles in leather or faux leather
Purchased handles with pre-punched tabs are sewn on by hand through the holes. Use strong thread, such as waxed or upholstery thread, in a backstitch that passes through each hole twice, and catch whole stitches of the crochet rather than single strands. A small piece of felt or fabric behind the crochet on the inside gives the thread something solid to pull against.
Placement and spacing
- Center each handle on its face. Count the stitches across the front, mark the middle, and count outward equally to both ends of the handle. Repeat on the back and check that the two match.
- Leave the sides free. On a medium tote, handle ends usually sit about 2.5 to 3.5 in (6 to 9 cm) in from each side edge.
- Check the drop. For carrying in the hand, an opening of about 4 to 5 in (10 to 13 cm) between the rim and the top of the handle is usually enough. To pass over the shoulder, most people need about 8 to 10 in (20 to 25 cm), more over a winter coat.
- Mark before sewing. Pin or clip both handles in place, lift the bag by them, and adjust until it hangs level.
Reinforcing where handles attach
All the weight of the bag passes through a few stitches at each handle end, so the rounds there should be the firmest in the bag.
- Work the top 3 or 4 rounds with a hook one size smaller.
- Add a round of slip stitch around the rim after the handles are made to stop the opening from widening.
- Sew each handle end across at least 3 rounds instead of to the top round alone.
For heavier loads, backing patches and other fixes are described in how to reinforce a crochet bag. On very small bags a single top handle is enough, as in the structured crochet mini bag.
Frequently asked questions
How long should the chain be for a crocheted-on handle?
For a flush slot, chain the same number as the stitches you skip, usually about 4 to 5 in (10 to 13 cm) worth. For a raised handle, chain more than you skip and check the opening against your hand before continuing.
Do wooden handles need to be sealed before use?
Finished handles sold for bags are normally ready to use. Unfinished wood is worth sanding smooth so it does not snag the yarn.
Can handles be added to a bag that is already finished?
Yes. Sewn-on handles, rope-core handles and fold-over tabs for hardware can all be added afterward, since they are joined to the rim rather than worked into it.